
How to Repair Water Damage to Drywall Seams and Joints
Water damage to drywall seams and joints is a common issue for homeowners, but the good news is it can be repaired. In this article, we will guide you through the process of identifying, repairing, and preventing future water damage in drywall seams and joints. Whether you’re a DIY enthusiast or just need a quick fix, our step-by-step guide will help you get the job done.
- 1. Identify the Extent of the Water Damage
- 2. Gather the Necessary Tools
- 3. Remove the Damaged Drywall
- 4. Repair the Drywall Joints and Seams
- 5. Prevent Future Water Damage
1. Identify the Extent of the Water Damage
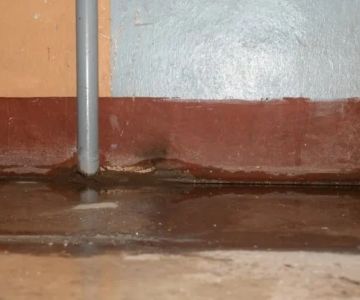
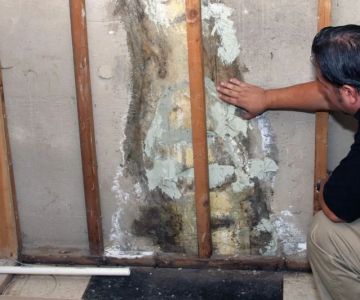
The first step in repairing water damage to drywall seams and joints is to assess the damage. Look for signs of water stains, discoloration, and softness in the drywall. Pay special attention to areas near plumbing, windows, and ceilings as these are common places for water leaks.

Wizard Restorations Inc / puroclean of san fernando
Rancho CucamongaSan Bernardino CountyCalifornia
10245 8th St, Rancho Cucamonga, CA 91730, USA
1.1 Check for Structural Damage
If the water damage is extensive, you may notice that the drywall has begun to warp or buckle. In severe cases, the structural integrity of the drywall may be compromised, and a larger repair or replacement may be necessary.

SERVPRO of Pompano Beach / servpro fort lauderdale south
Pompano BeachBroward CountyFlorida
2101 NW 33rd St #200a, Pompano Beach, FL 33069, USA
2. Gather the Necessary Tools
Before you begin the repair process, gather the tools and materials you'll need. Here's what you'll require:
- Utility knife
- Joint compound
- Drywall tape
- Drywall screws or nails
- Spackle knife
- Sandpaper
- Primer and paint
3. Remove the Damaged Drywall
Once you have assessed the damage, carefully remove the affected drywall. Use a utility knife to cut around the damaged area, making sure to avoid cutting into electrical wiring or plumbing. If the damage is localized to the seams, you may only need to remove a small section of drywall.
3.1 Dispose of the Damaged Materials
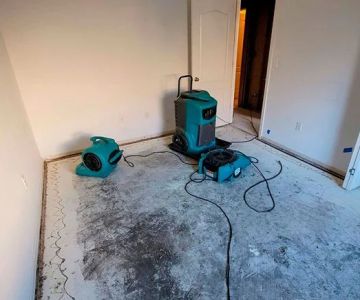
Dispose of the damaged drywall properly to avoid the growth of mold or mildew. It's crucial to remove any wet materials quickly to prevent further damage to the surrounding areas.
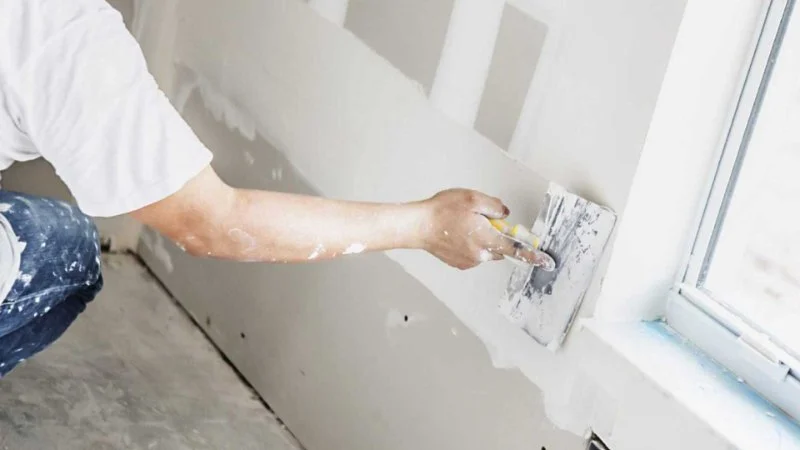
4. Repair the Drywall Joints and Seams
After removing the damaged drywall, it's time to repair the seams and joints. Here's how you can proceed:
4.1 Apply Joint Compound
Start by applying a layer of joint compound over the seams using a spackle knife. Smooth it out evenly, and press drywall tape into the compound to secure it. Allow the compound to dry fully before applying additional layers.
4.2 Sand and Smooth the Surface
Once the joint compound has dried, sand the surface to create a smooth, even finish. You may need to apply multiple coats of joint compound, sanding between each coat, to ensure the seams are fully repaired and seamless.
5. Prevent Future Water Damage
After repairing the drywall seams, it's essential to take steps to prevent future water damage. Here are a few tips to protect your home:
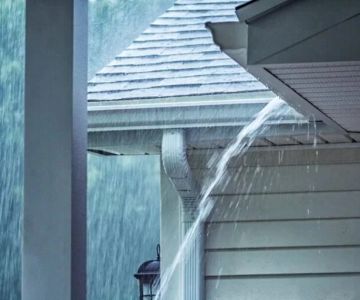
5.1 Fix the Source of the Leak
Make sure you’ve fixed the source of the water leak before proceeding with repairs. Whether it’s a leaky pipe, window, or roof, it’s important to address the underlying issue to avoid future damage.
5.2 Apply a Waterproof Barrier
Consider applying a waterproofing barrier to your drywall to protect it from future moisture damage. This is particularly important in areas prone to humidity, such as basements and bathrooms.
By following these steps, you can effectively repair water damage to drywall seams and joints and ensure that your home remains in excellent condition. For more detailed advice on repairs and maintenance, visit Reliable Damage Hub for professional guidance and services.
 Blaze Restoration Inc.0.0 (0 reviews)
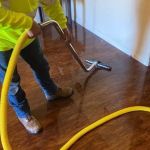 Fort Worth Water Damage Restoration4.0 (14 reviews)
 Rainbow Restoration of Taylorsville5.0 (5 reviews)
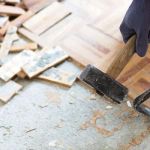 Premier Water5.0 (3 reviews)
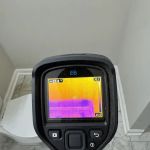 Atlanta Water Fire Damage4.0 (18 reviews)
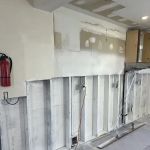 Dr Mold Removal4.0 (30 reviews)
 How to Handle Water Damage in Your Basement: Step-by-Step Guide
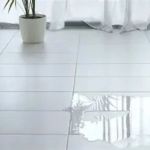 Why It’s Important to Address Water Damage Immediately: Protect Your Home
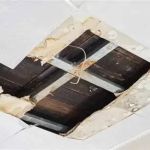 How to Restore Water-Damaged Ceiling Tiles in Your Home or Office
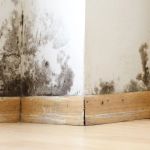 How to Spot Water Damage Early: Key Signs to Look for Before It's Too Late
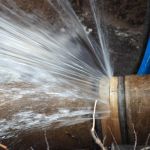 How to Prevent Water Damage in Your Home’s Plumbing Pipes
 How to Handle Water Damage Claims With Your Insurance