
Water Damage Repair for Drywall and Plaster
- Understanding Water Damage
- Drywall Water Damage Repair
- Plaster Water Damage Repair
- Essential Tools for Water Damage Repair
- Step-by-Step Guide to Repairing Drywall
- Step-by-Step Guide to Repairing Plaster
- Common Mistakes to Avoid in Water Damage Repair
- When to Call Professionals for Water Damage Repair
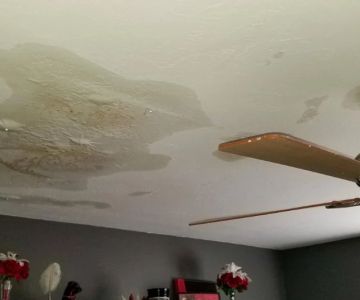
1. Understanding Water Damage
Water damage can occur due to leaks, floods, or even high humidity, and it often affects drywall and plaster. When these materials absorb moisture, they can become weak, discolored, or mold-infested. Repairing water damage promptly is essential to prevent further structural issues or mold growth. Understanding the extent of the damage will help you decide whether a DIY repair is feasible or if professional assistance is necessary.2. Drywall Water Damage Repair
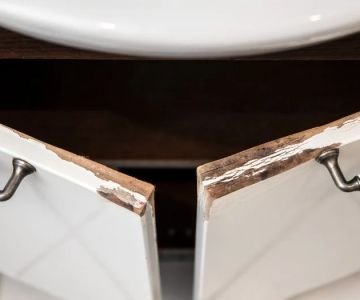
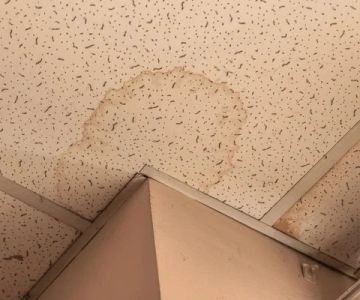
Drywall is particularly vulnerable to water damage because it is made of paper and gypsum, which absorb moisture quickly. When repairing water-damaged drywall, it's crucial to assess the level of damage first:- Minor Damage: If the water damage is minimal and the drywall hasn't collapsed or rotted, you can usually repair it yourself.
- Severe Damage: For extensive damage, such as sagging or discolored drywall, it may be necessary to replace the affected sections completely.
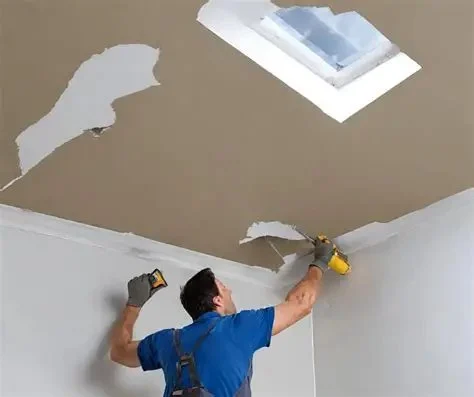
3. Plaster Water Damage Repair
Unlike drywall, plaster is more durable but can also suffer from water damage, especially in older homes. Repairing plaster damage involves a slightly different process:- Assess the Damage: Check if the plaster is soft or if there are visible cracks. For minor water damage, the plaster might just need a patching and sealing.
- Remove Loose Plaster: If the plaster is weakened, you'll need to remove any loose or damaged sections.
- Replastering: Apply a bonding agent, followed by new plaster layers, to restore the surface. It’s essential to ensure the surface is dry before applying the new layers.
4. Essential Tools for Water Damage Repair
Whether repairing drywall or plaster, having the right tools is key to a successful repair. Here’s a list of essential tools:- Utility Knife: Useful for cutting drywall and plaster.
- Drywall Patch: Pre-fabricated patches can be helpful for minor drywall repairs.
- Joint Compound: For filling holes and smoothing out drywall surfaces.
- Plaster Repair Kit: Comes with bonding agents, plaster mix, and finishing materials for plaster repairs.
- Paint and Primer: After repairs, applying a fresh coat of paint will restore the wall’s appearance.
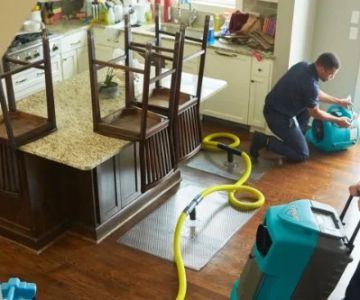
- Fan and Dehumidifier: To help dry out the affected areas before starting repairs, reducing the risk of mold.
5. Step-by-Step Guide to Repairing Drywall
For minor water damage, here’s a basic guide to repair drywall:- Step 1 - Cut Out the Damaged Area: Use a utility knife to cut out any wet or damaged drywall. Be sure to cut a clean square or rectangular shape for easy patching.
- Step 2 - Dry the Area: Use a fan and dehumidifier to thoroughly dry the area. This helps prevent mold growth.
- Step 3 - Apply Joint Compound: Spread joint compound over the seams and fill any holes. Smooth it out with a drywall knife.
- Step 4 - Sand and Paint: Once the joint compound dries, sand it smooth and apply a fresh coat of primer and paint to match the rest of the wall.
6. Step-by-Step Guide to Repairing Plaster
Repairing plaster can be a bit more challenging, but it’s possible with the right steps:- Step 1 - Remove Loose Plaster: Use a hammer and chisel to gently remove any soft or loose plaster from the affected area.
- Step 2 - Apply Bonding Agent: Spread a bonding agent over the exposed lath (wooden slats) to ensure the new plaster sticks properly.
- Step 3 - Apply Plaster: Mix the plaster and apply it in thin layers. Smooth it out with a plastering trowel, allowing each layer to dry before adding the next.
- Step 4 - Sand and Finish: Once the final layer is dry, sand the surface smooth and paint or finish as desired.
7. Common Mistakes to Avoid in Water Damage Repair
While repairing water damage can be straightforward, there are common mistakes to avoid:- Not Addressing the Source of Moisture: Always identify and fix the source of water damage before starting repairs to prevent future problems.
- Skipping the Drying Process: Inadequately drying the affected area can lead to mold growth and worsen the damage.
- Over-Applying Joint Compound or Plaster: Too much material can result in cracking or difficulty achieving a smooth finish.
 Anytime Services4.0 (5 reviews)
 Pilot Plumbing And Drain4.0 (493 reviews)
 SERVPRO of Pascagoula5.0 (13 reviews)
 West Coast Beverly Hills CA5.0 (25 reviews)
 Right Choice Improvements5.0 (1 reviews)
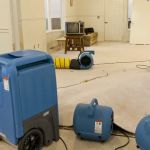 Asure Carpet Cleaning4.0 (28 reviews)
 How to Prevent Water Damage From Leaky Appliances
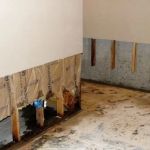 How to Repair Water-Damaged Wall Panels: A Step-by-Step Guide
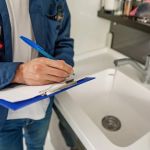 Water Damage Inspection Checklist for Homeowners: What to Look for
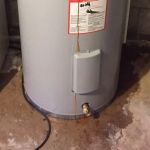 How to Handle Water Damage From Burst Water Heaters: Tips and Solutions
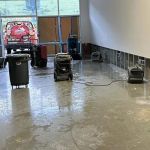 Water Damage Restoration for Commercial Offices: Protecting Business Continuity
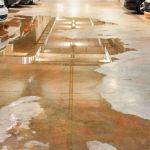 Water Damage Repair for Garage Floors