
1. Why Water Damage Inspection Is Crucial for Homeowners
Water damage is one of the most insidious and costly problems homeowners face. Often undetected until significant damage has occurred, water damage can lead to expensive repairs, mold growth, and a decrease in property value. Conducting a thorough water damage inspection is crucial to identifying issues early, preventing costly repairs, and ensuring the health and safety of your family.
In this guide, we will walk you through the importance of water damage inspections, common signs to watch for, and how to conduct a detailed inspection to protect your home. Whether you’re a new homeowner or looking to maintain your current property, understanding how to spot water damage early is essential for preventing long-term issues.

Kustom US Restoration / kustom restoration
1215 W Houston Ave Suite A, Gilbert, AZ 85233, USA
2. Common Signs of Water Damage to Look for
Before diving into the specifics of a water damage inspection, it's important to recognize the common signs of water damage in your home. These signs can indicate both current and past issues that may need immediate attention:

SERVPRO of Pompano Beach / servpro fort lauderdale south
Pompano BeachBroward CountyFlorida
2101 NW 33rd St #200a, Pompano Beach, FL 33069, USA
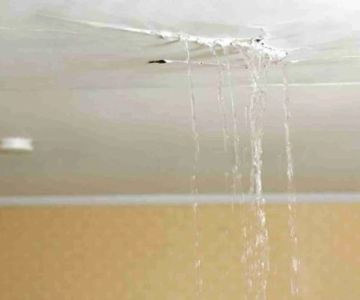
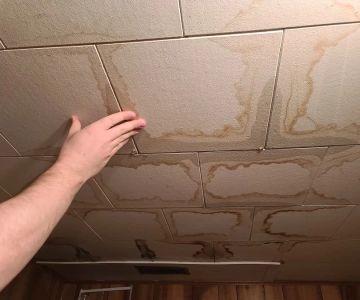
2.1 Stains on Walls and Ceilings
One of the most obvious signs of water damage is discoloration on walls or ceilings. Yellow, brown, or black stains can indicate water has been leaking behind the surface. Pay attention to areas near windows, doors, and pipes where leaks are most common. Persistent stains may indicate an ongoing issue that needs to be addressed.
2.2 Warped or Buckled Floors
Wood or laminate flooring that begins to warp or buckle can be a clear sign of water damage. Moisture underneath the floorboards can cause them to expand, resulting in a distorted or uneven surface. If you notice this issue, inspect the area beneath the flooring for leaks or water intrusion.
2.3 Mold and Mildew Growth
Excess moisture in a home creates the perfect breeding ground for mold and mildew. If you notice a musty odor or visible mold growth, it’s a clear indication that water damage is present. Mold can be harmful to both the structure of your home and your health, so addressing it promptly is essential.
2.4 Damp or Wet Areas
Any areas of your home that consistently feel damp or have standing water should be inspected for water damage. Check areas like basements, crawl spaces, and attics, as these are often prone to moisture buildup. If you notice any persistent dampness, it could be due to leaks or poor drainage around the property.
2.5 Peeling Paint or Wallpaper
If the paint on your walls or the wallpaper starts peeling or bubbling, it may be a sign that water has infiltrated the wall. Moisture behind the wall causes the surface layer to detach. This is a common issue in areas with high humidity or leaks from the roof or plumbing systems.
3. Step-by-Step Water Damage Inspection Process
Now that you know what to look for, it’s time to conduct your own water damage inspection. Here’s a step-by-step process that will help you assess the condition of your home:
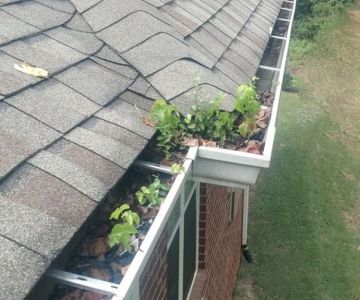
3.1 Inspect the Exterior of Your Home
The first step in a water damage inspection is checking the exterior of your home. Look for any signs of water pooling near the foundation, damaged gutters, or clogged downspouts. These can lead to water infiltration and basement leaks. Ensure that your gutters are clean and water is being directed away from the foundation.
3.2 Check the Roof
Water damage often starts from the roof, so a thorough inspection is crucial. Look for missing or damaged shingles, sagging areas, or signs of moss or algae growth, which can indicate water retention. If you can access the attic, inspect the rafters for any water stains or signs of leaks. If you find any issues, it’s best to have a professional roof inspection conducted.
3.3 Inspect Windows and Doors
Check the seals around windows and doors to ensure that they are properly sealed and not allowing water to enter. Look for any gaps or cracks in the caulking that could lead to leaks, especially during heavy rain. In addition, inspect the areas around window sills for signs of water damage.
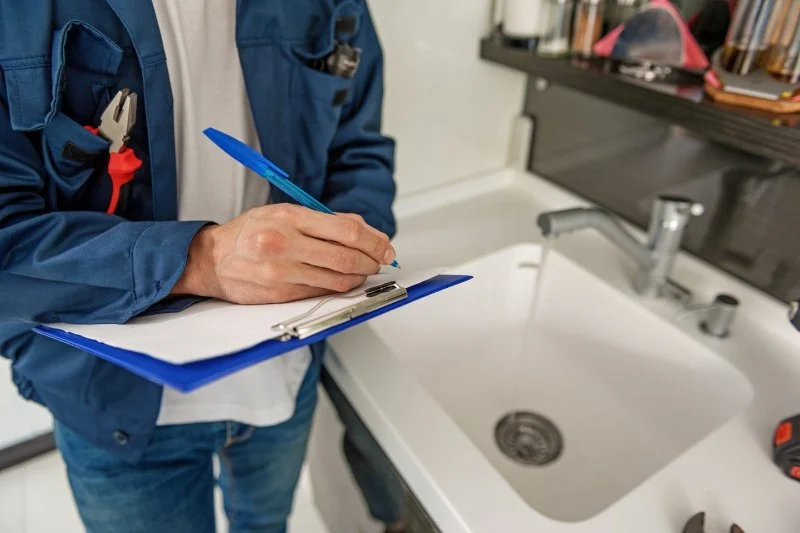
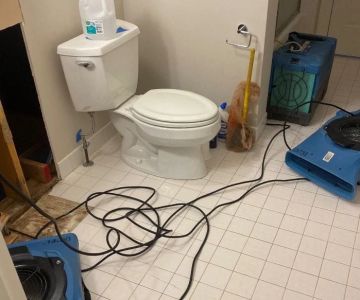
3.4 Examine Plumbing Fixtures
Plumbing leaks are a common cause of water damage, so it's important to check all visible pipes for signs of leaks or corrosion. Check under sinks, around the toilet, and in the basement for any pooling water or dampness. If you notice a persistent drip or wet spots, you may need to address a plumbing issue immediately.
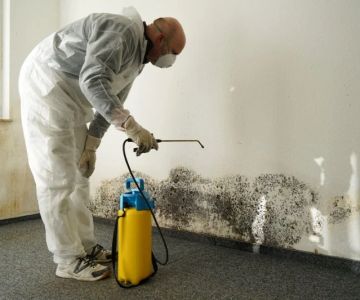
3.5 Check for Signs of Mold and Mildew
Inspect your home for any musty odors or visible mold growth. Pay special attention to areas with high humidity, such as bathrooms, kitchens, and basements. If you find mold, it’s essential to address the underlying moisture problem before removing the mold. Consider calling a mold remediation professional if the issue is extensive.
4. Tools and Equipment for Inspecting Water Damage
Having the right tools can make your water damage inspection more thorough and efficient. Here are some tools and equipment that can help you identify hidden moisture issues:
4.1 Moisture Meter
A moisture meter is a valuable tool for detecting hidden moisture in walls, ceilings, and floors. It can help you identify areas that are damp but not visibly affected by water damage, allowing you to target potential problem areas.
4.2 Infrared Thermometer
An infrared thermometer is useful for identifying temperature differences in walls and ceilings, which can indicate the presence of water. Cold spots on walls can suggest that moisture is trapped behind the surface, leading to potential water damage.
4.3 Flashlight
A flashlight is essential for inspecting dark spaces like basements, attics, and crawl spaces. Make sure to inspect these areas thoroughly for any signs of water intrusion or damage.
5. Real-Life Water Damage Inspection Cases
Here are a couple of real-life examples that highlight the importance of conducting regular water damage inspections:
5.1 The Basement Leak
Tim and his family noticed an unusual musty smell in their basement, but they didn’t take it seriously until they saw water stains on the floor. Upon further inspection, they discovered that a crack in the foundation had allowed water to seep in, causing damage to the drywall and flooring. With the help of a professional, they were able to fix the crack and prevent further damage.
5.2 The Roof Leak
Jessica had been experiencing unexplained water spots on her ceiling. After inspecting the roof, she found several loose shingles that had allowed water to enter. The water damaged her ceiling and walls, but fortunately, she caught the issue early enough to prevent further destruction. Repairing the roof saved her thousands of dollars in potential repairs.
If you’re looking for professional services or the best tools for water damage inspection, check out Reliable Damage Hub for expert recommendations and quality products to help you protect your home.
 MemphisClean4.0 (52 reviews)
 Rainbow International of Temecula5.0 (55 reviews)
 Prism Specialties of North Chicagoland5.0 (7 reviews)
 PuroClean of Wentzville5.0 (27 reviews)
 Stanley Steemer4.0 (965 reviews)
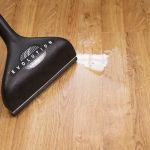 SERVPRO of Torrance5.0 (46 reviews)
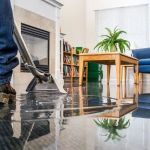 Emergency Water Damage Cleanup: A Step-by-Step Guide for Homeowners
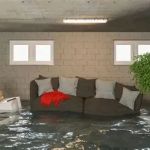 How to Avoid Water Damage in Your Home’s Crawl Space: Essential Tips
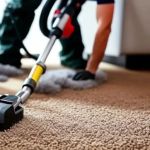 The Most Effective Methods for Water Extraction – Reliable Damage Hub
 Water Damage Restoration for Restaurants and Food Service Areas – A Complete Guide
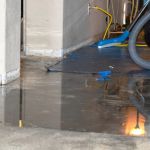 Top 5 Water Damage Restoration Myths Debunked
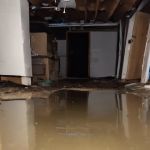 Common Causes of Water Damage in Homes and How to Prevent Them