
How to Repair Water-Damaged Wall Panels: A Step-by-Step Guide
- Assess the Damage
- Gather Necessary Materials
- Remove the Damaged Panels
- Repair or Replace the Panels
- Prevent Future Water Damage
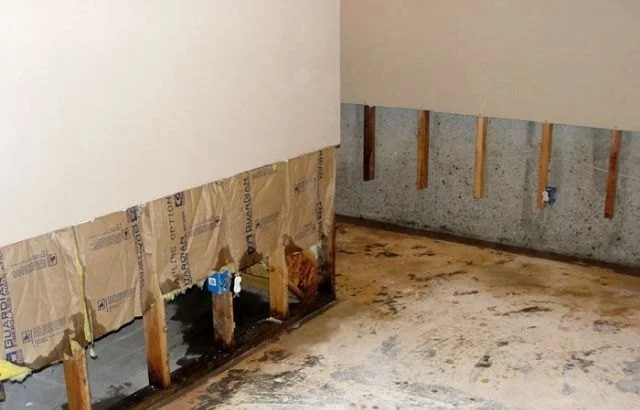
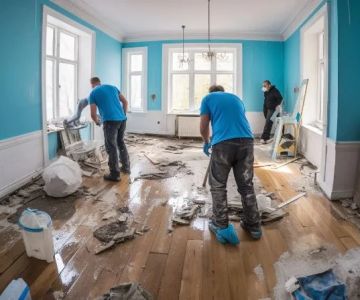
1. Assess the Damage
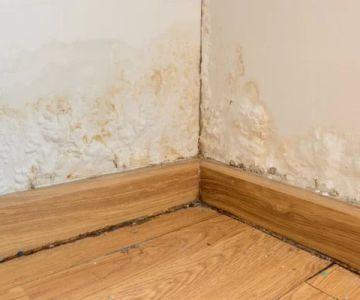
The first step in repairing water-damaged wall panels is to thoroughly assess the damage. Inspect the area for signs of mold, mildew, and structural weakness. Water damage can sometimes go unnoticed, so it’s important to look for dark spots, warping, or peeling paint.
Start by identifying the source of the water. If the damage is caused by a leak, make sure it is fixed before proceeding with repairs. Without addressing the root cause, the damage will recur. Once the source is resolved, you can begin the process of fixing the panels.

Drip Restoration / valleywide restoration mesa az
932 S Stapley Dr, Mesa, AZ 85204, USA
2. Gather Necessary Materials
Before beginning the repair, gather the necessary materials. You’ll need the following items:
- Replacement wall panels (if needed)
- Utility knife or saw
- Putty knife
- Drywall compound
- Paint or finishing materials
- Cleaning supplies (mold remover, etc.)
- Safety gear (gloves, mask)
Having all the tools and materials at hand will help ensure the repair goes smoothly. If you’re replacing the entire panel, be sure to measure the dimensions carefully so you purchase the correct size.

SERVPRO of Pompano Beach / servpro of santa maria
Pompano BeachBroward CountyFlorida
2101 NW 33rd St #200a, Pompano Beach, FL 33069, USA
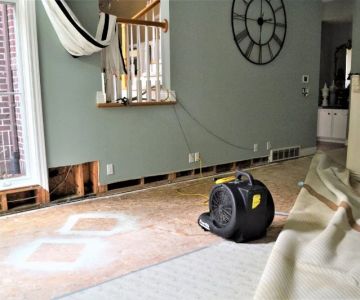
3. Remove the Damaged Panels
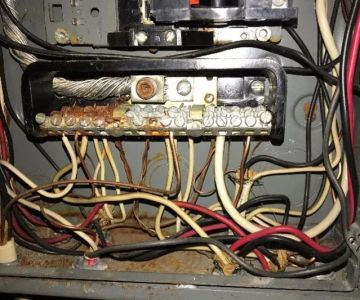
Once you’ve assessed the damage and gathered all your materials, it’s time to remove the affected wall panels. If the damage is contained to a small section, use a utility knife to cut away the damaged area. Be careful not to cut into any electrical wiring or plumbing behind the wall.
If the entire panel is water-damaged, you may need to remove the entire section. Use a saw or utility knife to carefully cut around the edges of the damaged panel. Remove the panel carefully, disposing of it properly, especially if it has mold or mildew growth. It’s important to wear safety gloves and a mask while handling water-damaged materials to protect yourself from harmful bacteria.
4. Repair or Replace the Panels
After removing the damaged panels, you have a couple of options. If only a small portion of the wall panel is damaged, you can repair it with drywall compound. Apply the compound to the affected area, smoothing it with a putty knife, and let it dry completely. Sand the surface and apply a second coat if needed to ensure a smooth finish.
If the panel is severely damaged, it’s best to replace it entirely. Cut the replacement panel to fit the space and secure it to the studs. Use drywall screws to attach the new panel, ensuring it’s properly aligned. Once the new panel is in place, apply drywall compound to the seams and let it dry. Sand it smooth for a seamless look.
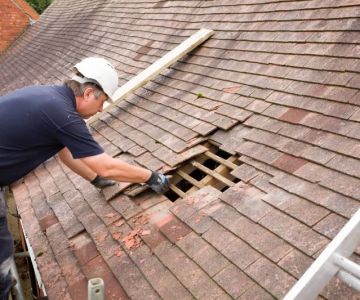
5. Prevent Future Water Damage
Once the repair is complete, it’s important to take steps to prevent future water damage. Ensure that your home’s roof, gutters, and windows are in good condition to prevent leaks. If the damage was caused by high humidity, consider installing a dehumidifier to regulate moisture levels.
In areas prone to water issues, you may want to apply a waterproof sealant to your wall panels as an extra precaution. Additionally, regular maintenance and timely repairs will help keep your home in good condition and prevent future damage from affecting your walls.
For more home repair tips and solutions, visit Reliable Damage Hub for expert advice and product recommendations.
 Good Roads Water Damage Experts5.0 (1 reviews)
 R&R Foundation Specialist4.0 (305 reviews)
 MJ White4.0 (102 reviews)
 ATI Restoration3.0 (25 reviews)
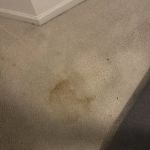 Modernistic4.0 (251 reviews)
 ServiceMaster Cleaning Services4.0 (27 reviews)
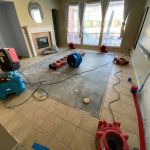 Water Damage Restoration for Retail Spaces – Expert Tips and Real Cases
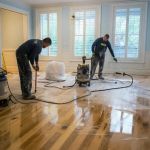 How to Prevent and Repair Water Damage in Commercial Properties
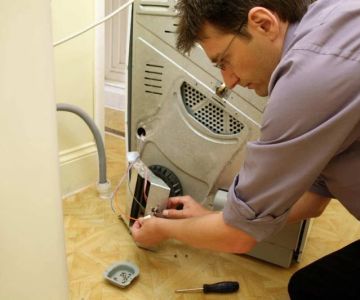
 How to Protect Your Home’s Electrical System from Water Damage: Essential Tips
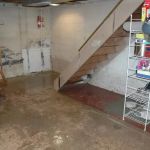 Flooded Basement? Here’s How to Restore It Safely
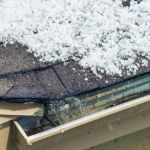 How to Handle Water Damage After a Storm: A Step-by-Step Guide
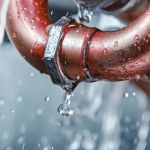 How to Handle Water Damage from Burst Pipes: A Step-by-Step Guide