

How to Fix Water Damage from Leaking Toilets Step by Step
- 1- Identify the Source of the Toilet Leak
- 2- Shut Off Water and Prepare the Area
- 3- Remove Damaged Materials
- 4- Drying and Dehumidifying the Affected Area
- 5- Clean and Disinfect Surfaces
- 6- Repair or Replace the Toilet
- 7- Repair Damaged Flooring and Walls
- 8- Prevent Future Leaks
- 9- When to Seek Professional Help
- 10- Trusted Tools and Products
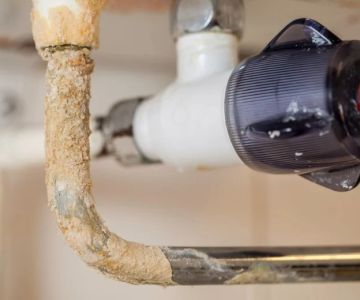
1. Identify the Source of the Toilet Leak
Before starting any repair, accurately locating the source of the leak is critical. Common causes include worn flappers, faulty fill valves, damaged wax rings, or cracks in the toilet tank or bowl.
1.1 Inspect Toilet Components
Remove the tank lid and carefully examine the flapper, fill valve, and connections. Look for cracks, corrosion, or water dripping. This step helps determine whether a simple part replacement or a full toilet replacement is necessary.
1.2 Examine Surrounding Areas
Check the floor around the toilet and nearby walls for water stains, soft spots, or warping. Identifying secondary water damage ensures no hidden issues are overlooked.
2. Shut Off Water and Prepare the Area
Once the leak is identified, turn off the water supply to prevent further damage. Protect the surrounding area by laying down plastic sheets or towels and move any furniture or personal items out of the way.
2.1 Drain the Toilet
Flush the toilet to empty the tank and bowl. Use a sponge or towel to remove remaining water from the tank, bowl, and any puddles on the floor.
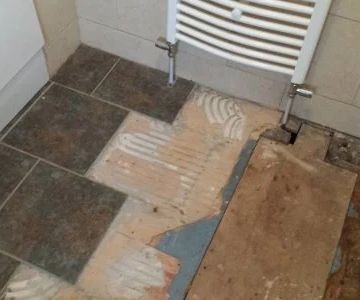
3. Remove Damaged Materials
Water-damaged flooring, drywall, and baseboards must be removed to prevent mold growth and structural weakening.
3.1 Flooring
Cut and remove sections of vinyl, laminate, or hardwood that have absorbed water. Be careful not to damage subflooring unless it is compromised.
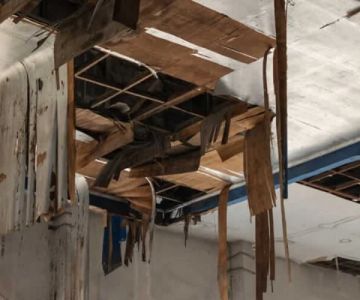
3.2 Drywall and Baseboards
Remove drywall up to 12 inches above the water line and take out baseboards. This allows full access for drying and ensures mold prevention.
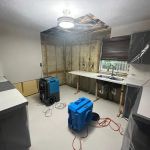
4. Drying and Dehumidifying the Affected Area
Effective drying is essential to prevent mold and further structural damage.
4.1 Use Fans and Dehumidifiers
Place high-powered fans and dehumidifiers in the affected area. Ensure proper airflow around the subfloor and wall cavities. Drying can take 24-72 hours depending on the extent of the damage.
4.2 Monitor Moisture Levels
Use a moisture meter to ensure the area is completely dry before beginning repairs. Any remaining moisture can lead to mold growth or decay.
5. Clean and Disinfect Surfaces
Water from toilets can contain bacteria and pathogens. Clean all surfaces with a strong disinfectant to ensure safety and hygiene.
5.1 Safe Cleaning Practices
Wear gloves, masks, and protective eyewear while using EPA-approved cleaners. Clean subfloor, studs, and surrounding areas thoroughly to prevent lingering bacteria or mold spores.
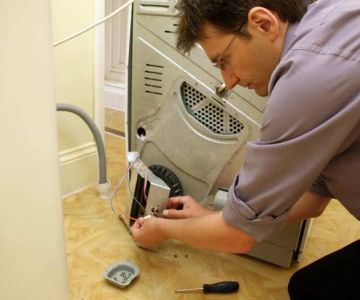
6. Repair or Replace the Toilet
Depending on the severity of the leak, either repair the faulty parts or replace the toilet entirely.
6.1 Common Repairs
Replace flappers, washers, fill valves, or wax rings as needed. Ensure all connections are tight and leak-free.
6.2 Full Toilet Replacement
If the toilet is cracked or excessively worn, remove the old unit and install a new one. Follow manufacturer instructions and confirm a proper seal to prevent future leaks.
7. Repair Damaged Flooring and Walls
Once the area is dry, rebuild and repair any structural damage caused by the leak.
7.1 Flooring Installation
Replace subfloor if necessary and install new flooring that matches the existing decor. Consider water-resistant options for extra protection.
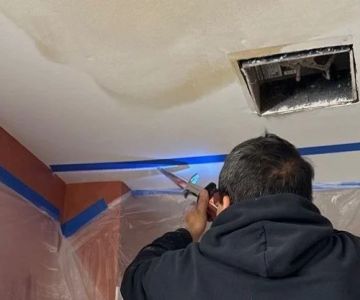
7.2 Wall Repairs
Install new drywall, tape, and paint to restore the appearance and structural integrity of the room.
8. Prevent Future Leaks
Regular maintenance and inspections are crucial to avoid future water damage from toilets.
8.1 Routine Checks
Inspect flappers, valves, and seals every six months. Look for early signs of leaks, corrosion, or cracks.
8.2 Upgrading Fixtures
Consider replacing older toilets with modern, water-efficient models that minimize leakage risks and improve long-term reliability.
9. When to Seek Professional Help
While many repairs can be done DIY, complex leaks, severe water damage, or mold growth requires professional intervention.
9.1 Hiring Licensed Plumbers
Professional plumbers can accurately diagnose hidden leaks and provide permanent solutions, ensuring peace of mind and preventing recurring damage.
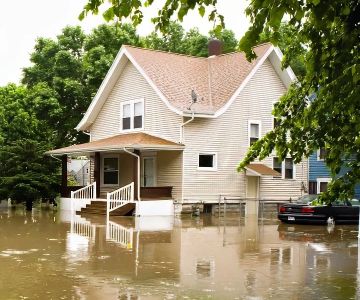
9.2 Water Damage Restoration Experts
In cases of extensive water damage, restoration specialists can dry, disinfect, and repair affected areas safely and efficiently.
10. Trusted Tools and Products
Reliable tools and products are essential for successful DIY repairs. Visit Reliable Damage Hub for high-quality repair kits, moisture meters, disinfectants, and other supplies designed to restore your home efficiently and safely.
Follow these step-by-step instructions to address water damage from leaking toilets and prevent future issues. By combining careful inspection, effective drying, and proper repair techniques, you can restore your home to a safe and healthy condition.
 WFM Emergency Services5.0 (40 reviews)
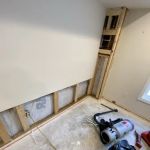 Flood Fire Pro4.0 (134 reviews)
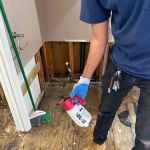 770 Water Damage & Restoration4.0 (66 reviews)
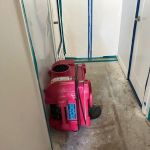 Restoration Management Company4.0 (24 reviews)
 Restoration Damage Pros of Atlanta0.0 (0 reviews)
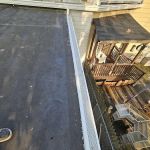 Home Gutter Solutions5.0 (29 reviews)
 How to Prevent Water Damage in Your Home During a Rainstorm
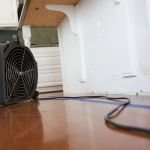 How to Repair Water Damage to Kitchen Floors
 How to Spot Hidden Water Damage in Your Home’s Foundation
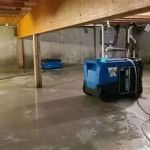 How to Restore Water-Damaged Residential Properties: A Step-by-Step Guide
 How to Restore Water-Damaged Interior Layers: A Step-by-Step Guide
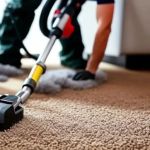 The Most Effective Methods for Water Extraction – Reliable Damage Hub