
Comprehensive Guide on How to Restore Water-Damaged Tile Floors
- 1- Understanding Water Damage on Tile Floors
- 2- Assessing the Extent of Damage
- 3- Essential Tools and Materials for Restoration
- 4- Cleaning and Drying the Affected Area
- 5- Repairing or Replacing Damaged Tiles
- 6- Restoring Grout and Sealing Tile Surfaces
- 7- Preventive Tips to Avoid Future Water Damage
- 8- Real-Life Restoration Examples
- 9- Choosing Professional Water Damage Services
1. Understanding Water Damage on Tile Floors
Tile floors are durable and visually appealing, but water damage can compromise their structure and appearance. Moisture can seep beneath tiles, causing adhesive breakdown, mold growth, and even lifting or cracking of tiles over time.
Giants / dry kings restoration of san francisco
San FranciscoSan Francisco CountyCalifornia
685 Geary Blvd, San Francisco, CA 94102, USA
1.1 Types of Water Damage
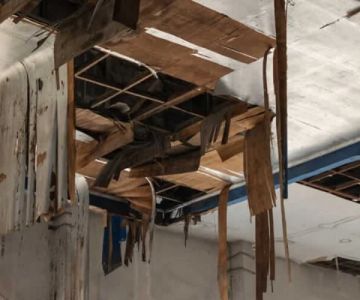
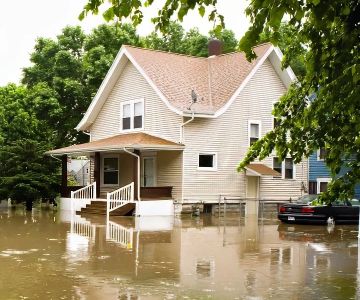
Water damage can be classified as minor, moderate, or severe. Minor damage may include surface stains or small grout discolorations. Moderate damage could involve lifted tiles or warped subflooring, while severe damage can result in widespread structural compromise.

SERVPRO of Pompano Beach / servpro of santa maria
Pompano BeachBroward CountyFlorida
2101 NW 33rd St #200a, Pompano Beach, FL 33069, USA
1.2 Causes of Water Damage
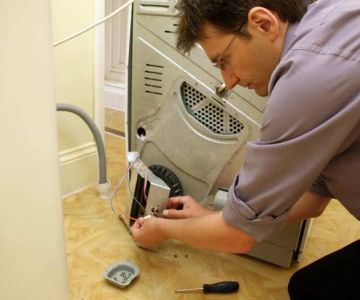
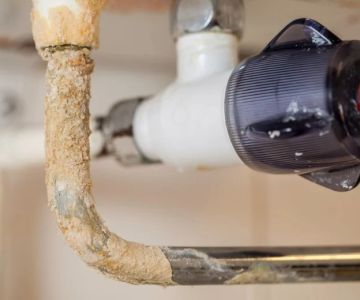
Common causes include leaking pipes, roof leaks, flooding, and high humidity. Identifying the source of water is critical to preventing recurrence.
2. Assessing the Extent of Damage
Before restoration, a thorough assessment ensures appropriate repair measures.
2.1 Visual Inspection
Check for discoloration, cracking, or swelling. Pay special attention to grout lines and corners where water may accumulate.
2.2 Subfloor Evaluation
Water can weaken the subflooring beneath tiles. Gently lift a tile in a discreet area to inspect for water damage, mold, or structural issues.
2.3 Moisture Testing
Use moisture meters to detect hidden water content within tiles or subfloor, guiding your restoration strategy effectively.
3. Essential Tools and Materials for Restoration
Having the right tools is key to a successful tile floor restoration.
3.1 Cleaning Supplies
Soft brushes, mop, bucket, and non-abrasive tile cleaner to remove dirt and contaminants from affected areas.
3.2 Repair Tools
Grout saw, adhesive, replacement tiles, trowels, and sealants for repairing and restoring tile floors.
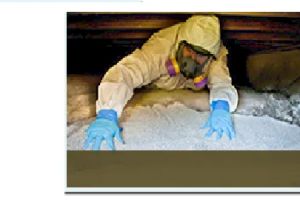
3.3 Safety Gear
Gloves, goggles, and masks to protect against mold exposure and cleaning chemicals during restoration work.
4. Cleaning and Drying the Affected Area
Proper cleaning and drying are fundamental to preventing mold growth and further damage.
4.1 Remove Standing Water
Use a wet vacuum or mop to remove excess water. Prompt removal prevents further absorption into subflooring.
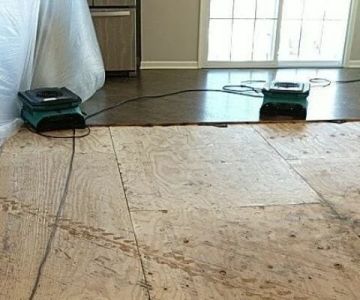
4.2 Drying Techniques
Open windows, use fans, and dehumidifiers to thoroughly dry tiles and surrounding areas. For severe cases, consider professional drying equipment.
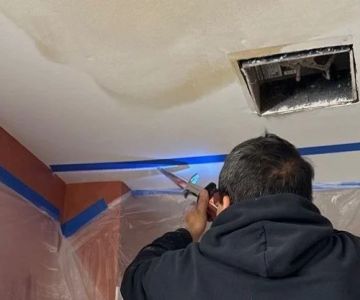
4.3 Mold and Mildew Treatment
Apply mold inhibitors or specialized cleaning solutions to affected areas to eliminate hidden mold spores.
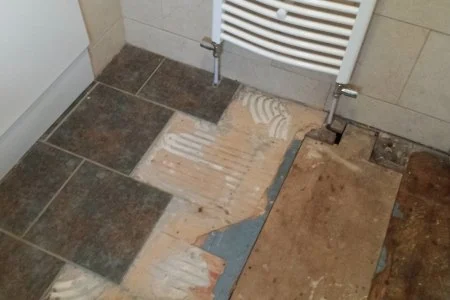
5. Repairing or Replacing Damaged Tiles
Tile replacement is often necessary when structural damage occurs.
5.1 Removing Damaged Tiles
Use a grout saw to carefully remove damaged tiles and adjacent grout. Avoid damaging surrounding tiles.
5.2 Installing Replacement Tiles
Apply fresh adhesive and properly align replacement tiles. Ensure consistent spacing and level placement with existing floor patterns.
5.3 Allow Proper Curing Time
Let adhesive dry completely before walking on repaired tiles to prevent shifting or future damage.
6. Restoring Grout and Sealing Tile Surfaces
Grout restoration ensures aesthetic uniformity and water resistance.
6.1 Applying New Grout
Fill joints evenly using a rubber float, removing excess grout promptly. Smooth joints for consistent appearance.
6.2 Sealing Grout
Seal grout lines with high-quality sealant to prevent future water infiltration, prolonging the life of your tile floor.
6.3 Surface Cleaning and Polishing
After grout curing, clean and polish tiles to restore original shine and prevent dirt accumulation.
7. Preventive Tips to Avoid Future Water Damage
Implementing preventive measures reduces the risk of recurring damage.
7.1 Inspect Plumbing Regularly
Regularly check pipes, faucets, and drains for leaks. Early detection prevents water exposure to floors.
7.2 Control Indoor Humidity
Use dehumidifiers in moisture-prone areas to maintain optimal humidity levels and avoid condensation under tiles.
7.3 Seal Tile Surfaces
Periodic sealing of tiles and grout lines adds a protective barrier against water infiltration.
8. Real-Life Restoration Examples
Understanding real-world cases highlights practical approaches to tile floor repair.
8.1 Kitchen Flood Restoration
A minor kitchen flood caused discoloration and lifting of several tiles. After removing water, drying the subfloor, and replacing damaged tiles, the kitchen was fully restored with no recurrence.
8.2 Bathroom Leak Recovery
A leaking shower affected a large section of bathroom tile. Mold treatment, subfloor repair, and professional tile replacement restored both functionality and appearance.
9. Choosing Professional Water Damage Services
Some water damage scenarios require expert intervention to ensure complete restoration.
9.1 Verify Expertise and Certification
Choose licensed restoration professionals experienced in tile floor repairs to guarantee safe and effective outcomes.
9.2 Request Detailed Estimates
Obtain quotes covering assessment, cleaning, repair, and preventive treatments to understand total costs and services provided.
9.3 Schedule Ongoing Maintenance
Regular checkups and preventive services help protect tile floors from future water-related issues.
By learning how to restore water-damaged tile floors properly, homeowners can maintain the beauty, durability, and value of their flooring. For expert advice, professional repair services, and reliable restoration solutions, visit Reliable Damage Hub to access trusted guidance and services.
 SERVPRO of Metairie4.0 (115 reviews)
 Roto-Rooter Plumbing & Drain Services4.0 (1036 reviews)
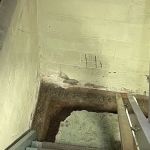 Locktight Waterproofing4.0 (34 reviews)
 Cornerstone Brushworks4.0 (23 reviews)
 GOAT Restoration0.0 (0 reviews)
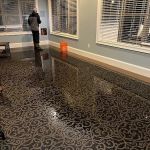 Pro-Tech Restoration Services5.0 (13 reviews)
 How to Handle Water Damage From Roof Leaks
 How to Repair Water Damage Around Home Foundations: A Step-by-Step Guide
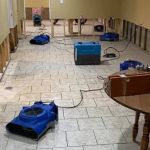 The Top Water Damage Prevention Tips for Homes in Coastal Areas
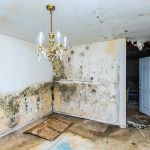 What You Should Know About Water Damage Restoration and Mold Growth
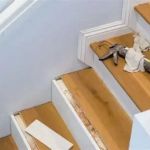 Water Damage Repair for Hardwood Stairs Made Simple
 What to Expect During a Water Damage Restoration Service