
Water Damage Repair for Wall Insulation
- Understanding Water Damage in Wall Insulation
- Signs Your Wall Insulation Is Water-Damaged
- Steps to Repair Water-Damaged Wall Insulation
- Preventing Future Water Damage
- Real Homeowner Experiences
- Get Professional Help from Reliable Damage Hub
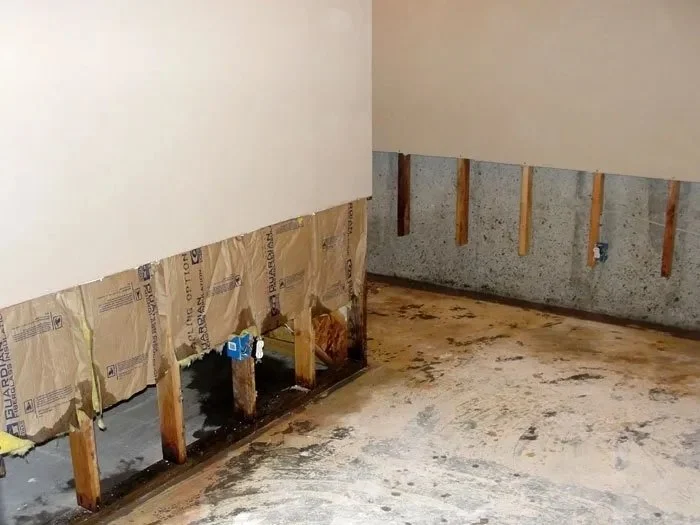
1. Understanding Water Damage in Wall Insulation
Water damage in wall insulation is more than just an inconvenience — it can lead to structural deterioration, mold growth, and reduced energy efficiency in your home. When insulation materials like fiberglass, cellulose, or spray foam absorb moisture, they lose their ability to retain heat, forcing your HVAC system to work harder and driving up energy bills.
In most cases, water damage occurs due to leaks from roofs, plumbing, or exterior walls. Once water infiltrates, it can remain trapped behind drywall, creating a breeding ground for mold and bacteria. Addressing water damage promptly ensures your home stays safe, healthy, and energy-efficient.

Drip Restoration / valleywide restoration mesa az
932 S Stapley Dr, Mesa, AZ 85204, USA
2. Signs Your Wall Insulation Is Water-Damaged
Many homeowners don’t realize there’s a problem until visible damage appears. However, the earlier you catch it, the easier it is to repair. Look for these common warning signs:

SERVPRO of Pompano Beach / servpro fort lauderdale south
Pompano BeachBroward CountyFlorida
2101 NW 33rd St #200a, Pompano Beach, FL 33069, USA
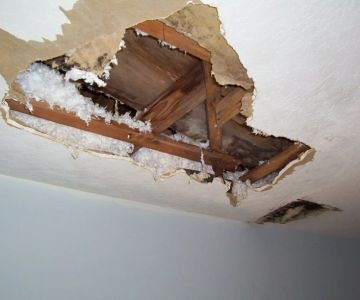
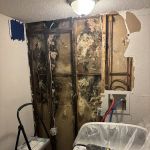
2.1 Musty Odors and Mold Growth
If your room smells damp or musty, it could mean mold has developed inside the walls. Mold thrives in moist insulation and can spread quickly if not removed.
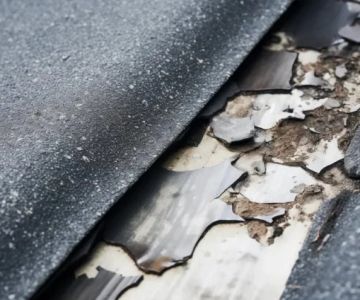
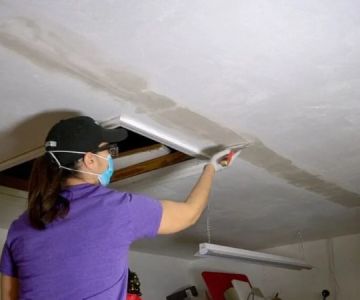
2.2 Discoloration and Bubbling Paint
Water stains, peeling wallpaper, or bubbling paint often indicate that moisture has seeped into the wall cavity. These visual cues are clear indicators that your insulation might be compromised.
2.3 Temperature Fluctuations
If one room feels colder or hotter than others, it could mean the insulation in that area has lost its effectiveness due to water exposure. This is a subtle but critical sign of insulation failure.
3. Steps to Repair Water-Damaged Wall Insulation
Repairing wall insulation after water damage involves a mix of assessment, drying, and replacement. The process may sound daunting, but with proper care and planning, you can restore your walls effectively.
3.1 Step 1: Identify the Source of Water
Before any repairs begin, find and fix the root cause of the leak — whether it’s a burst pipe, roof issue, or window seal failure. Repairing the insulation without addressing the source only leads to recurring problems.
3.2 Step 2: Remove Wet Drywall and Insulation
Cut out the affected drywall sections and remove any wet insulation. Fiberglass batts can often be replaced, while cellulose or foam insulation usually needs to be fully removed to prevent mold contamination.
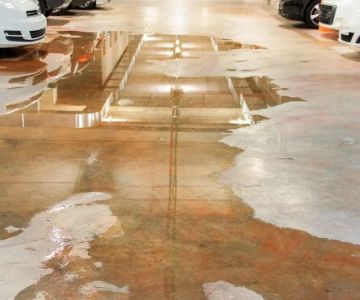
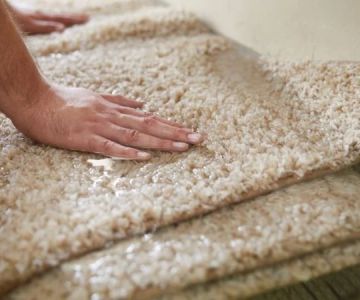
3.3 Step 3: Dry the Wall Cavity
Use industrial fans or dehumidifiers to thoroughly dry the wall cavity. Skipping this step can trap hidden moisture, leading to long-term structural issues and mold growth.
3.4 Step 4: Install New Insulation
Once the area is completely dry, install new insulation material that suits your climate and home structure. Spray foam provides excellent moisture resistance, while fiberglass remains a cost-effective option for many homeowners.
3.5 Step 5: Seal and Restore the Wall
Finally, replace drywall, apply primer, and repaint. It’s a good idea to use mold-resistant drywall or vapor barriers for added protection against future moisture exposure.
For homeowners unsure about which materials to choose or how to ensure full moisture control, Reliable Damage Hub offers guidance, tools, and services to help make the repair process smooth and long-lasting.
4. Preventing Future Water Damage
Once your insulation is repaired, it’s important to prevent future problems. Regular home maintenance plays a huge role in keeping your insulation dry and functional.
Inspect frequently: Check for leaks around windows, roofs, and plumbing lines every few months.
Improve ventilation: Ensure proper airflow in attics and crawl spaces to reduce condensation buildup.
Use moisture barriers: In high-humidity areas, moisture barriers can protect insulation from excess dampness.
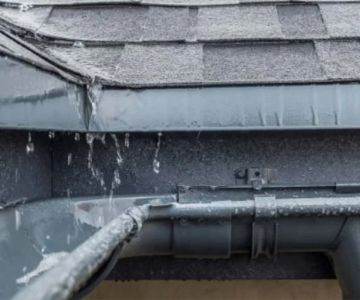
Gutter maintenance: Clean gutters regularly to prevent water overflow from seeping into walls.
Even with these precautions, unexpected leaks can happen. That’s why having access to reliable repair professionals and high-quality materials through Reliable Damage Hub can make all the difference when damage occurs.
5. Real Homeowner Experiences
One homeowner in Florida shared their experience after a hidden pipe leak saturated their wall insulation: “We didn’t notice the issue until the wall started to smell musty. After replacing the insulation and repainting, we installed moisture-resistant barriers — the house feels fresher, and the energy bill dropped noticeably.”
In another case, a homeowner in Oregon faced chronic wall dampness due to poor gutter design. After a full inspection and insulation replacement, they reported that indoor comfort improved drastically, proving that addressing the root cause is just as important as repairing the damage itself.
6. Get Professional Help from Reliable Damage Hub
When water damage affects your wall insulation, it’s best to act quickly. Reliable Damage Hub connects you with trusted professionals, high-quality materials, and expert repair tips to help restore your home efficiently. Whether you need a detailed inspection, moisture control products, or replacement insulation options, their curated resources make the process straightforward and stress-free.
Don’t wait until a small leak becomes a major renovation project — trust Reliable Damage Hub to guide you through every step of your water damage repair journey.
 Best Option Restoration SE Kansas City4.0 (61 reviews)
 BluCAL - Water/Fire Damage Restoration Company4.0 (17 reviews)
 SERVPRO of Claremont, Sunapee, Newfound Lake5.0 (3 reviews)
 SERVPRO of Russellville, Hamilton and Fayette4.0 (23 reviews)
 NJ Mold Pros5.0 (26 reviews)
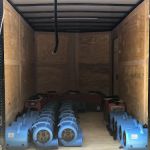 Tampa Bay Water Restoration LLC.5.0 (23 reviews)
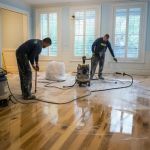 How to Handle Water Damage in Your Kitchen and Bathroom: Essential Tips and Solutions
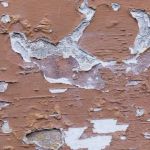 How to Prevent Water Damage to Your Home’s Exterior Walls: Effective Protection Tips
 The Link Between Water Damage and Long-Term Structural Issues
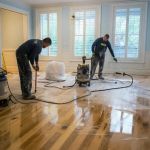 How to Prevent and Repair Water Damage in Commercial Properties
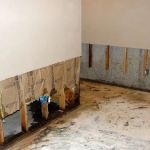 How to Repair Water-Damaged Wall Panels
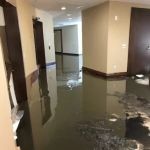 Water Damage Restoration for Hotels and Resorts: Protecting Guest Experience and Property