
- 1. Understanding the Impact of Water Damage on Ceilings
- 2. Assessing the Extent of the Damage
- 3. Tools and Materials Needed for Ceiling Repair
- 4. Step-by-Step Guide to Repairing a Water-Damaged Ceiling
- 5. When to Call a Professional for Ceiling Repairs
1. Understanding the Impact of Water Damage on Ceilings
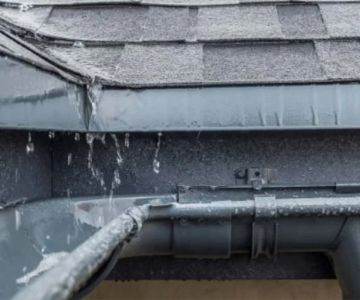
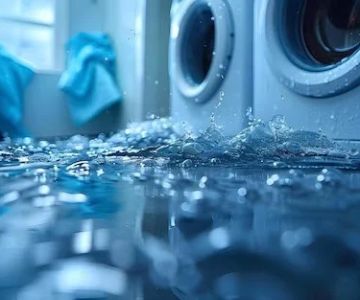
Water damage to ceilings can be a frustrating and costly problem for homeowners. It typically occurs due to leaks in the roof, broken pipes, or issues with plumbing, often resulting in unsightly stains and structural damage. Whether you're dealing with a minor leak or significant damage from a major water event, addressing the issue quickly is critical to prevent further deterioration.
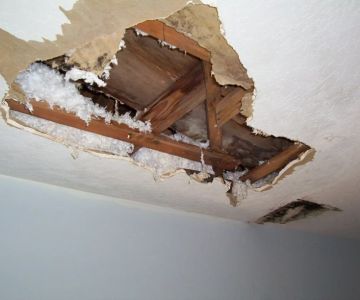
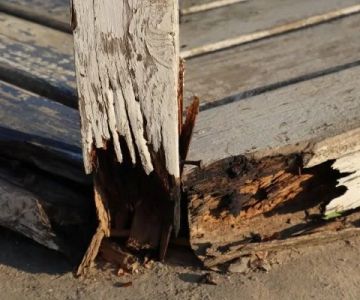
In addition to the aesthetic damage, water can weaken the ceiling structure, leading to mold growth and potentially compromising the safety of the building. This article will guide you through the necessary steps to repair water-damaged ceilings, offering practical advice and tips to help you restore your space to its former condition.

Wizard Restorations Inc / puroclean of san fernando
Rancho CucamongaSan Bernardino CountyCalifornia
10245 8th St, Rancho Cucamonga, CA 91730, USA
2. Assessing the Extent of the Damage
Before you begin any repairs, it's essential to assess the extent of the water damage to your ceiling. Start by identifying the source of the water and making sure the leak is fixed. If the damage is ongoing, the repairs won't be effective.

Drip Restoration / valleywide restoration mesa az
932 S Stapley Dr, Mesa, AZ 85204, USA
Signs of Water Damage
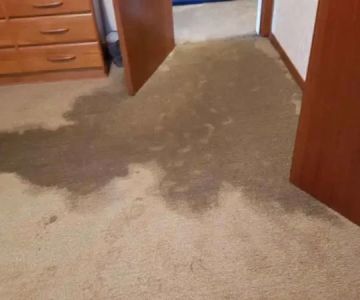
Look for the following signs of water damage:
- Dark stains or discoloration on the ceiling
- Peeling or bubbling paint or wallpaper
- Visible cracks or soft spots in the ceiling
- Foul musty odors, which may indicate mold growth
3. Tools and Materials Needed for Ceiling Repair
Once you've assessed the damage and are ready to repair the ceiling, gather the following tools and materials:
- Drop cloths and plastic sheeting: To protect floors and furniture from dust and debris.
- Utility knife: To cut away damaged drywall or plaster.
- Drywall compound: For patching and smoothing the repaired area.
- Joint compound and drywall tape: To fill seams and cracks.
- Sandpaper: For smoothing the patched area before painting.
- Paint and primer: To restore the ceiling to its original appearance.
- Safety equipment: Gloves, goggles, and a dust mask for protection during repairs.
Having the right tools will make the repair process smoother and ensure a professional-looking result. You can find all the necessary materials at Reliable Damage Hub for a wide selection of high-quality products.
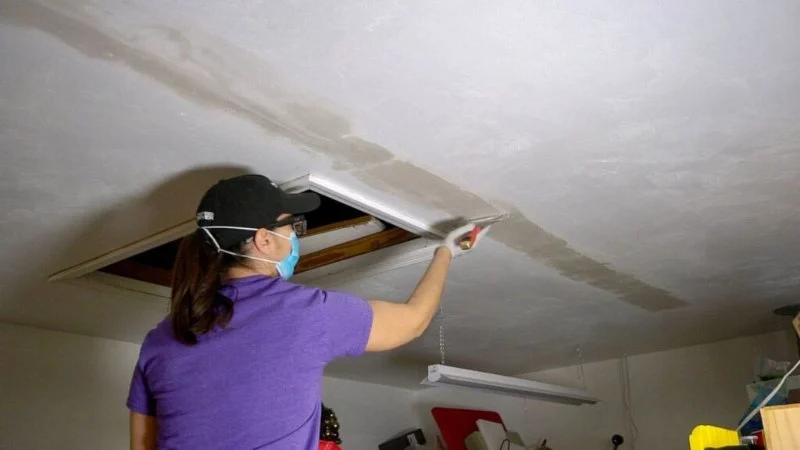
4. Step-by-Step Guide to Repairing a Water-Damaged Ceiling
Now that you're prepared, follow this step-by-step guide to repairing your water-damaged ceiling:
Step 1: Prepare the Area
Start by covering your floors and furniture with drop cloths to prevent any dust or debris from damaging them. Use plastic sheeting to seal off the work area to keep the mess contained. Make sure the area is dry before you begin any repairs.
Step 2: Cut Away the Damaged Ceiling Material
Use a utility knife to carefully remove any drywall or plaster that has been damaged by the water. If the water has soaked deeply into the material, you'll need to remove the entire section that’s compromised. This will help prevent mold and mildew from growing inside the ceiling.
Step 3: Patch the Ceiling
After removing the damaged material, apply drywall compound to the affected area. Use a putty knife to spread the compound evenly, and then place drywall tape over the seams. Once the tape is secure, apply a layer of joint compound and smooth it out with the putty knife.
Allow the compound to dry completely, and then sand it smooth to prepare the surface for painting.
Step 4: Prime and Paint the Ceiling
Once the patched area is dry and smooth, apply a coat of primer to ensure the paint adheres properly. After the primer has dried, use a roller or brush to apply paint over the repaired area, matching the color of the surrounding ceiling. Allow the paint to dry before removing any protective coverings from the floor and furniture.
5. When to Call a Professional for Ceiling Repairs
In some cases, water damage may be more severe than it initially appears. If the damage has caused structural issues or if you are unsure about the extent of the damage, it’s best to call a professional. A licensed contractor or water damage restoration expert can assess the situation and ensure that the repairs are completed safely and effectively.
Don’t hesitate to contact a professional if you notice signs of mold growth, sagging ceilings, or if the water damage extends beyond a small area. Ignoring these issues can lead to bigger problems down the line.
 ServiceMaster by GBS4.0 (31 reviews)
 ServiceMaster By Just In Time3.0 (21 reviews)
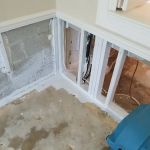 United Water Restoration of Vero Beach5.0 (1 reviews)
 Royal LLC4.0 (49 reviews)
 ServiceMaster Of Taylorville4.0 (1 reviews)
 Gourd Capital Smoke Damage Experts 4.0 (8 reviews)
 Water Damage Restoration for Hospitals and Clinics – Essential Solutions
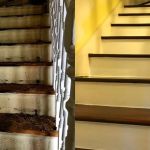 Water Damage Repair for Stairs and Railings
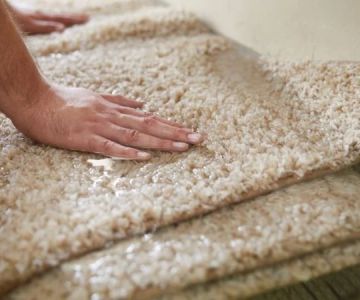
 How to Dry Out Water-Damaged Rugs Quickly: Best Methods & Tips
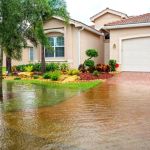 How to Prevent Water Damage from Affecting Your Home’s Foundation
 Water Damage Repair for Hardwood and Laminate Floors: Step-by-Step Guide
 How to Handle Water Damage From Burst Pipes – Expert Tips and Solutions