
1. Introduction to Water-Damaged Sheetrock
Water damage is one of the most common problems homeowners face. It can occur for a variety of reasons, such as roof leaks, broken pipes, or flooding. Sheetrock, also known as drywall, is particularly susceptible to water damage due to its porous nature. While many homeowners immediately think of replacing damaged sheetrock, there are ways to restore it without the need for expensive replacements. In this article, we will explore how to effectively repair and restore water-damaged sheetrock, saving both time and money.

Kustom US Restoration / kustom restoration
1215 W Houston Ave Suite A, Gilbert, AZ 85233, USA
2. Causes of Water Damage to Sheetrock
Before diving into the restoration process, it's important to understand the common causes of water damage to sheetrock. Water damage can occur when moisture seeps into the drywall, weakening its structure and causing discoloration, warping, or even mold growth. Common causes of water damage include:

Drip Restoration / valleywide restoration mesa az
932 S Stapley Dr, Mesa, AZ 85204, USA
2.1. Leaking Pipes
Leaking pipes, whether hidden within the walls or exposed, are one of the main causes of water damage to sheetrock. Even small leaks can cause significant damage over time, leading to wet spots and compromised drywall.
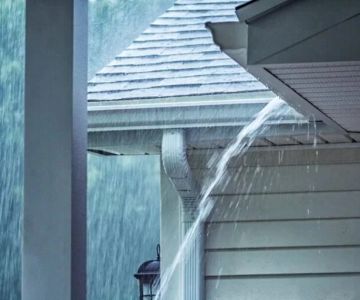
2.2. Roof Leaks
Roof leaks are another major culprit. When water seeps through the roof and into the walls, it can cause the sheetrock to become saturated and weaken its integrity.
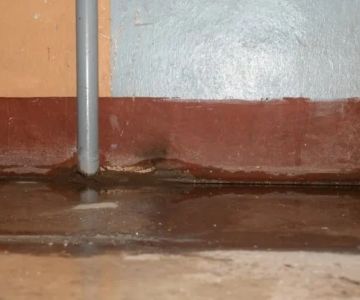
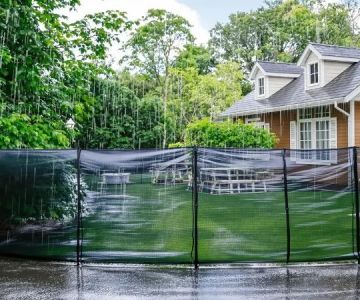
2.3. Flooding or High Humidity
Heavy rain or flooding can cause water to accumulate around the foundation of your home, potentially reaching the walls and damaging the sheetrock. Additionally, high humidity can slowly damage drywall over time if not properly managed.
3. How to Assess Water Damage to Sheetrock
Before attempting any repairs, it's essential to assess the extent of the water damage. This will help you determine if a restoration is possible or if the sheetrock needs to be replaced entirely. Here’s how to assess the damage:
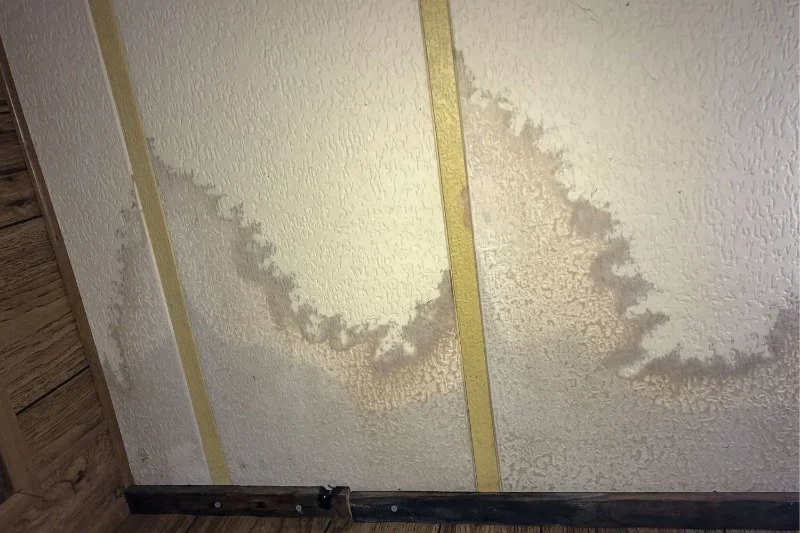
3.1. Visual Inspection
Examine the affected areas for any discoloration, bulging, or sagging. These are signs that the water has compromised the sheetrock. If you notice that the wall feels soft or sponge-like, it’s a sign that the drywall has absorbed moisture and may need restoration.
3.2. Check for Mold
One of the most concerning issues with water-damaged sheetrock is the potential for mold growth. If you notice any musty smells or visible mold, you’ll need to address this issue before restoring the drywall. Mold can spread rapidly and pose health risks, so it’s important to act quickly.
3.3. Test for Structural Integrity
Gently press on the damaged area to check for structural weakness. If the sheetrock crumbles or shows signs of extreme damage, it may need to be replaced. However, if the damage is limited to the surface, it may be possible to restore it.
4. How to Restore Water-Damaged Sheetrock
If the damage to your sheetrock is minimal, it is possible to restore it without having to replace the entire section. Follow these steps for effective restoration:
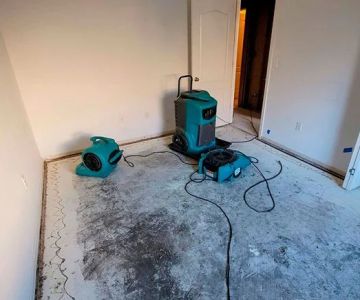
4.1. Dry the Area
The first step in restoring water-damaged sheetrock is to ensure that the area is completely dry. Use fans or dehumidifiers to remove moisture from the affected area. If possible, remove any water-soaked insulation behind the drywall to prevent mold growth.
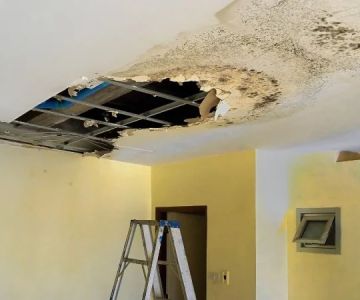
4.2. Remove the Damaged Portions
Once the area is dry, use a utility knife to carefully cut away the damaged portions of the sheetrock. Be sure to remove any wet or soft sections. If the damage is only superficial, you can skip this step and proceed with patching up the affected area.
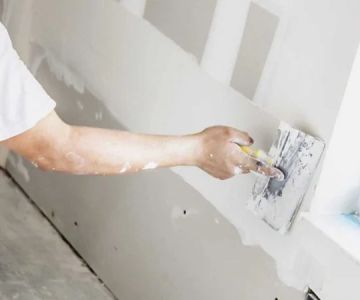
4.3. Patch the Holes
Use a drywall patching compound to fill in the holes or damaged areas. Smooth the compound with a drywall knife, ensuring it is level with the rest of the wall. Allow the compound to dry completely before sanding it smooth.
4.4. Prime and Paint
Once the patching compound has dried and been smoothed, apply a coat of primer to the repaired areas. This will help the paint adhere better and prevent staining. After the primer has dried, apply a coat of paint to match the surrounding wall.
4.5. Prevent Future Damage
To prevent future water damage, ensure that the source of the leak is fixed. If the damage was caused by a plumbing issue, call a professional plumber to inspect and repair the pipes. If the damage was due to a roof leak, consider having your roof professionally inspected and repaired.
5. When to Replace Sheetrock
In some cases, the damage to your sheetrock may be too severe to restore effectively. If you notice significant mold growth, structural weakness, or extensive saturation, replacing the sheetrock may be the best option. Additionally, if the damage has spread beyond the affected area or compromises the safety of the structure, it’s essential to replace the sheetrock to avoid further complications.
6. Conclusion
Water-damaged sheetrock can be restored with the right techniques if caught early. By drying the area, removing damaged portions, patching holes, and repainting, you can save time and money without needing to replace the entire wall. For more information on restoring sheetrock or finding professional help, visit 【Reliable Damage Hub】.
 Kustom Disaster Restoration5.0 (119 reviews)
 Crawford Painting and Pressure Washing5.0 (20 reviews)
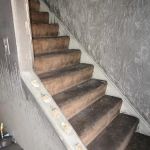 Master Care Restoration Services, Inc5.0 (14 reviews)
 Elmont Mold Removal & Inspections5.0 (1 reviews)
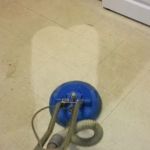 MOLD OR US5.0 (3 reviews)
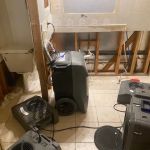 Dry Pro Restoration of New Orleans Uptown & Carrollton0.0 (0 reviews)
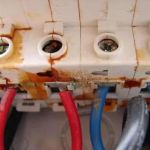 How Water Damage Affects Your Electrical System and What to Do About It
 Water Damage Restoration for Commercial Kitchens - Expert Guide
 How to Protect Your Home’s Electrical System from Water Damage: Essential Tips
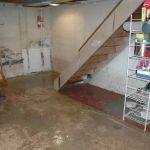 How to Repair Water Damage From Basement Flooding: A Comprehensive Guide
 The Dangers of Ignoring Water Damage: Why Timely Restoration is Crucial
 How to Restore Water-Damaged Books and Papers