
1. Understanding the Cause of Water Damage to Vinyl Flooring
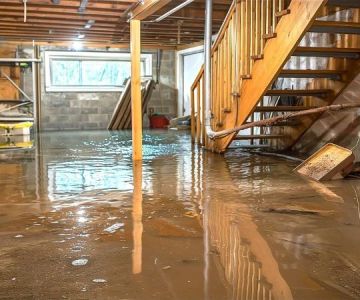
Before you begin repairing water-damaged vinyl flooring, it’s important to understand the cause of the damage. Water damage can occur due to leaking pipes, floods, or spills that aren’t properly cleaned up. Identifying the source helps prevent future issues.

Drip Restoration / valleywide restoration mesa az
932 S Stapley Dr, Mesa, AZ 85204, USA
1.1 Identifying Water Damage Signs
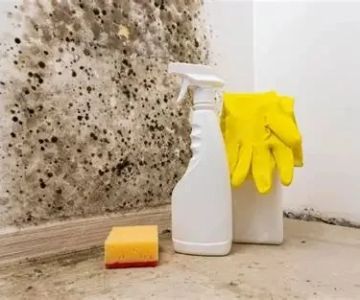
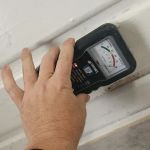
Signs of water damage include warping, discoloration, or areas where the vinyl has lifted or bubbled. These visible changes indicate that water has seeped under the vinyl and caused structural changes to the material.

Wizard Restorations Inc / puroclean of san fernando
Rancho CucamongaSan Bernardino CountyCalifornia
10245 8th St, Rancho Cucamonga, CA 91730, USA
2. Preparing for the Repair Process
Proper preparation is key to a successful repair job. Before you begin, gather the following materials:
- Utility knife
- Replacement vinyl (if necessary)
- Glue or adhesive
- Flooring patch kit (optional)
- Cleaning materials (cloth, mop, bucket)
2.1 Cleaning the Area
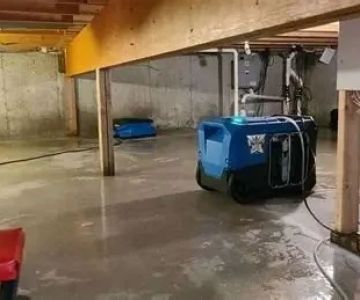
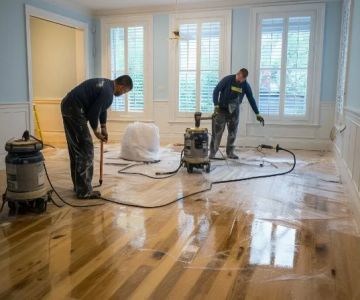
Clean the damaged area thoroughly. This helps to remove dirt, grime, and excess moisture that may hinder the repair process. Dry the area completely to ensure better adhesion of the new vinyl if replacement is needed.
2.2 Assessing the Extent of Damage
If the damage is minor, you may only need to patch or re-glue the vinyl. However, if the damage is more extensive, you might need to replace entire sections of the vinyl floor.
3. Cutting a Replacement Patch
If you need to replace a section of the vinyl, follow these steps:
3.1 Measure and Cut the Patch
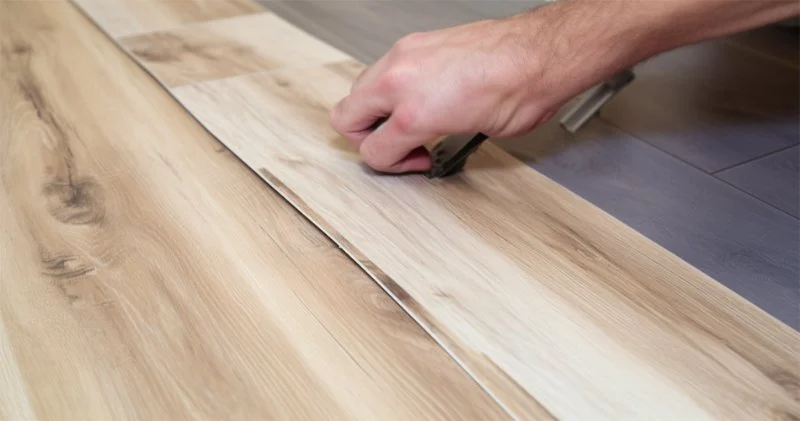
Measure the damaged area carefully, then cut a new piece of vinyl to fit perfectly. Make sure the edges are smooth and match the existing flooring pattern. Use a utility knife to make precise cuts.
3.2 Test the Fit
Before securing the patch, lay it over the damaged area to check for a perfect fit. The new vinyl should align with the surrounding flooring for a seamless look.
4. Gluing and Sealing the Patch
Once the patch is ready, it’s time to glue it down securely.
4.1 Apply Adhesive
Apply a layer of adhesive to the floor area where the vinyl patch will go. Use a small brush or spatula to spread the adhesive evenly. Be sure to follow the manufacturer’s instructions for the glue you're using.
4.2 Place the Patch and Press
Place the vinyl patch over the adhesive, ensuring it fits snugly into the damaged area. Press down firmly to remove any air bubbles and ensure the patch sticks well to the floor.
4.3 Seal the Edges
Once the patch is in place, use a roller to press down on the edges, sealing the patch and ensuring that it bonds properly to the floor. Allow it to dry completely according to the instructions on the adhesive.
5. Finishing Touches
After the repair is complete, follow these final steps for a smooth and professional-looking finish:
5.1 Clean the Area Again
After the patch has dried, clean the area again to remove any excess adhesive or dust. This will restore the shine of your vinyl flooring.
5.2 Inspect the Repair
Inspect the repair to ensure that the patch is securely in place. If you notice any loose edges or bubbles, reapply adhesive and press again.
5.3 Regular Maintenance
To prevent future water damage, make sure to address spills immediately and keep your vinyl floors dry. Regularly clean and maintain the flooring to extend its lifespan.

 Proper Dry5.0 (6 reviews)
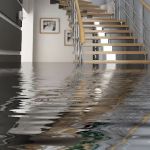 Champion5.0 (26 reviews)
 Sasser Restoration5.0 (1 reviews)
 Skyline Design & Remodel5.0 (10 reviews)
 Ronin Gutter Co5.0 (87 reviews)
 Advanced Waterproofing LLC4.0 (33 reviews)
 Water Damage Restoration for Industrial Offices
 How to Deal with Water Damage in a Mobile Home
 Water Damage Repair for Outdoor Wooden Structures: A Complete Guide
 Water Damage in Crawl Spaces: Prevention and Repair Strategies for Homeowners
 How to Prevent Water Damage from Excessive Humidity in Your Home | Reliable Damage Hub
 How to Handle Storm Water Damage: Tips for Quick Cleanup and Restoration