
- 1- Introduction to Drywall Repair
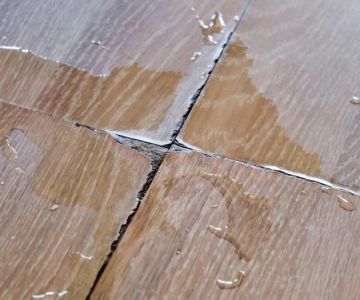
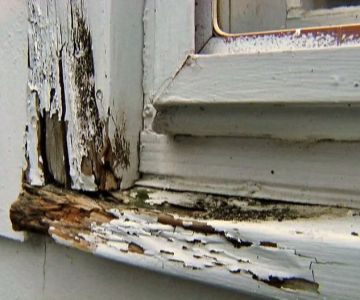
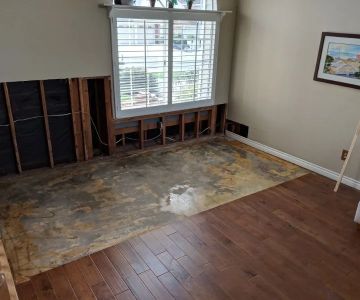
- 2- Identifying Water-Damaged Drywall
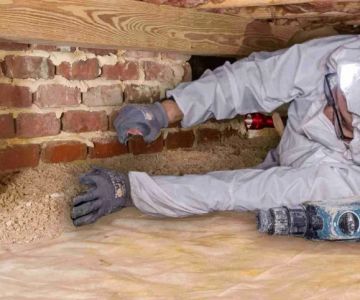
- 3- Tools Needed for Drywall Repair
- 4- Step-by-Step Guide to Repairing Water-Damaged Drywall
- 5- When to Call a Professional
- 6- Conclusion: Restoring Your Drywall
1- Introduction to Drywall Repair
Water damage to drywall is a common issue, especially in areas prone to leaks or flooding. Whether it's a leaky roof, burst pipes, or a flood, water can quickly soak into drywall, causing it to weaken, discolor, and eventually collapse. Fortunately, repairing water-damaged drywall is a manageable DIY project if done correctly. In this guide, we’ll take you through the process of assessing and repairing water-damaged drywall, with essential tips for ensuring the job is done right.

SERVPRO of Pompano Beach / servpro fort lauderdale south
Pompano BeachBroward CountyFlorida
2101 NW 33rd St #200a, Pompano Beach, FL 33069, USA
2- Identifying Water-Damaged Drywall
Before you start any repairs, it’s important to understand the extent of the damage. Water-damaged drywall may not always be immediately obvious, so here are some key signs to look for:
- Stains or discoloration: Water stains or yellow/brown spots are a clear indication of water damage.
- Soft or crumbling drywall: Gently press on the wall—if it feels soft or crumbles, it’s likely been compromised by water.
- Mold or mildew: If you notice any mold or mildew growth, the drywall has likely been exposed to water for an extended period.
- Warping or bulging: Water can cause drywall to swell or bulge, creating an uneven surface.
Identifying these signs early allows you to address the damage quickly, preventing further complications like mold growth or structural issues.

Drip Restoration / valleywide restoration mesa az
932 S Stapley Dr, Mesa, AZ 85204, USA
3- Tools Needed for Drywall Repair
To successfully repair water-damaged drywall, you'll need the right tools and materials. Here’s a list of essentials:
- Utility knife: To cut the damaged drywall.
- Drywall compound: For patching and smoothing over the repair.
- Joint tape: To reinforce seams and prevent cracking.
- Sandpaper or sanding block: To smooth the repaired area.
- Paint or touch-up materials: To blend the repair with the rest of the wall.
- Protective gloves: To keep hands safe while working with sharp tools and materials.
- Dust mask: To avoid inhaling drywall dust while sanding.
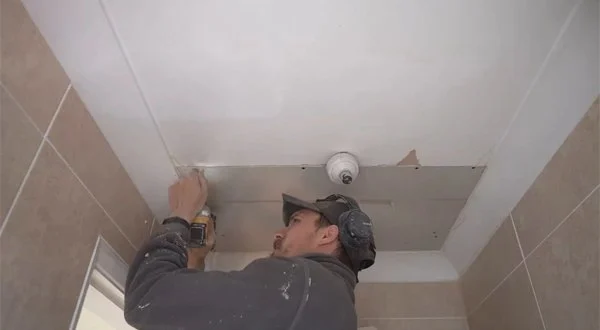
4- Step-by-Step Guide to Repairing Water-Damaged Drywall
Now that you’ve identified the damage and gathered your tools, follow these steps to repair your water-damaged drywall:
- Step 1: Remove the Damaged Drywall - Use a utility knife to cut around the damaged area. If the drywall is swollen or soft, you’ll need to cut it out completely. Remove any debris or crumbling material.
- Step 2: Let the Area Dry - Before installing new drywall, allow the area to fully dry. Use fans or dehumidifiers to speed up the drying process if necessary.
- Step 3: Install New Drywall - Cut the new drywall to fit the hole and screw it into place. Ensure the seams are aligned properly with the existing drywall.
- Step 4: Apply Joint Tape and Compound - Apply joint tape over the seams, then spread drywall compound over the tape. Smooth it out with a drywall knife and allow it to dry.
- Step 5: Sand the Surface - Once the compound is dry, sand the area until smooth. Make sure it’s level with the surrounding wall.
- Step 6: Paint and Finish - Apply paint or touch-up materials to blend the repaired area with the rest of the wall. If necessary, apply a second coat for a seamless finish.
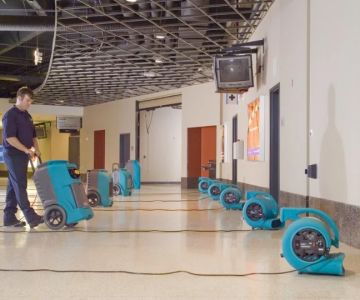
5- When to Call a Professional
While many water-damaged drywall repairs are straightforward, there are situations where it’s best to call a professional:
- Extensive damage: If the damage covers a large area or affects multiple walls, professional help may be required.
- Mold issues: If you detect mold, it’s important to address the underlying moisture problem before repairing the drywall. A professional can help identify the source of the leak and mitigate mold growth.
- Structural damage: If the water damage has affected the structure of your home, such as the studs or insulation, you’ll need an expert to assess and repair it properly.
6- Conclusion: Restoring Your Drywall
Repairing water-damaged drywall is a manageable task with the right tools and approach. By following these steps, you can restore your walls to their former condition and prevent further water damage. However, if the damage is extensive or involves mold or structural issues, don’t hesitate to call a professional. For all your drywall repair needs, visit Reliable Damage Hub to find the best products, services, and expert advice for a successful repair.

 Anytime Restoration Services3.0 (13 reviews)
 Roto-Rooter Plumbing & Water Cleanup4.0 (390 reviews)
 SERVPRO of Minnetonka, St. Louis Park, Golden Valley4.0 (185 reviews)
 First Response Fire & Water5.0 (21 reviews)
 Louisville Team3.0 (20 reviews)
 PuroClean Disaster First Response5.0 (4 reviews)
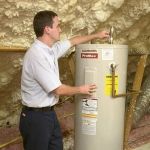 How to Handle Water Damage From Burst Water Heaters – Cleanup, Repair & Prevention
 Water Damage Repair for Hardwood and Laminate Floors: Step-by-Step Guide
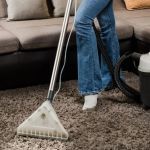 How to Dry a Wet Carpet Quickly After Water Damage: Expert Tips
 Best Practices for Preventing Water Damage in Your Home: Tips for Homeowners
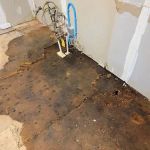 Water Damage Repair for Flooring Transitions: Expert Guide for Homeowners
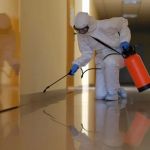 Can Water Damage Cause Structural Problems in Your Home? | Prevention Tips