
How to Dry Out Water-Damaged Wooden Floors
- Assessing the Water Damage
- Immediate Actions to Take
- The Drying Process for Wooden Floors
- Restoring and Repairing Water-Damaged Floors
- How to Prevent Future Water Damage
Assessing the Water Damage
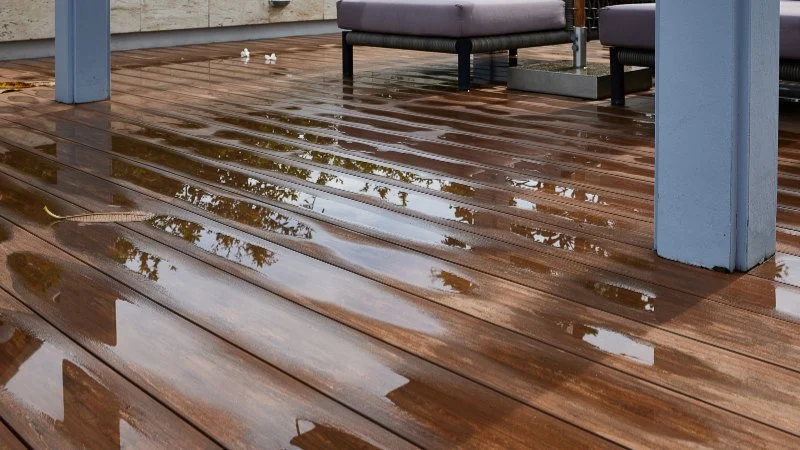
Before diving into the drying process, it’s essential to assess the extent of the water damage. Wooden floors can be especially tricky since they are vulnerable to moisture and can warp, swell, or discolor over time. If the water damage is recent, quick action is critical to prevent long-term harm.
Start by identifying whether the water came from a clean or contaminated source. Clean water (from a broken pipe, for example) is easier to manage, while contaminated water (from flooding or sewage) may require professional help. Check for visible signs like warping, buckling, or discoloration, which indicate that the water has seeped deep into the wood.
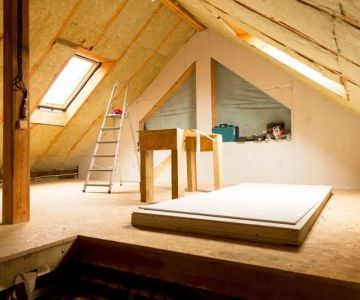
Another crucial factor is whether the water has affected the subfloor. If water has reached the subflooring, the damage can be more severe, and you may need to remove the flooring to address the issue properly.
Immediate Actions to Take
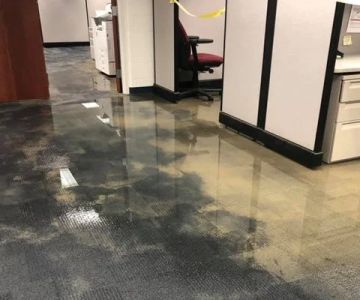
The sooner you begin drying out the water-damaged wooden floors, the better. Start by ensuring the safety of the area. If the damage is due to flooding, ensure there is no electrical hazard before entering the room.

SERVPRO of Pompano Beach / servpro fort lauderdale south
Pompano BeachBroward CountyFlorida
2101 NW 33rd St #200a, Pompano Beach, FL 33069, USA
1. Remove Standing Water
Use a wet/dry vacuum to remove standing water from the floor. The quicker you can get rid of the water, the less time the wood has to absorb it. Be thorough but gentle to avoid causing additional damage to the surface of the wood.
Kustom US Restoration / kustom restoration
1215 W Houston Ave Suite A, Gilbert, AZ 85233, USA
2. Use Absorbent Towels
For smaller puddles, absorbent towels or mops can help soak up water. Change towels as they get soaked to prevent leaving water behind that could soak deeper into the wood.
3. Move Furniture and Rugs
Any furniture or rugs that are in the affected area should be removed immediately to avoid further damage and to allow better airflow to the floor as it dries. This also helps prevent staining from the water.
The Drying Process for Wooden Floors
Now that you’ve removed the excess water, the next step is to begin the drying process. The goal here is to reduce moisture levels in the wood as quickly and effectively as possible.
1. Use Fans for Air Circulation
Fans are essential in helping to dry out the wooden floor. Place several fans around the affected area to circulate air over the floor. It’s important to direct the air across the floorboards to prevent moisture from being trapped between them. If you have a dehumidifier, this will further accelerate the drying process by pulling moisture from the air.
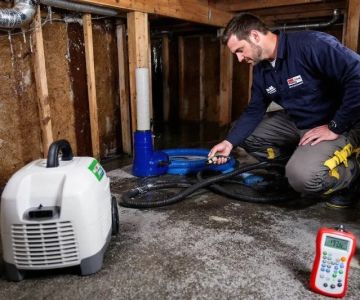
2. Utilize a Dehumidifier
Dehumidifiers are especially helpful in enclosed spaces where natural ventilation might be limited. By removing moisture from the air, you can prevent the wood from absorbing more water. Place the dehumidifier in the center of the room and close the door to the room to create an optimal environment for drying.
3. Raise the Temperature (If Safe)
If possible, increase the room temperature slightly to encourage evaporation. However, be cautious about making the space too hot, as excessive heat could cause the wood to shrink or crack. A temperature range of 70-80°F is ideal for most wood types.
4. Monitor Moisture Levels
As the drying process progresses, it’s essential to monitor the moisture levels in the wood. You can use a moisture meter to determine how much moisture is still present in the wood. This will help you track the progress and ensure that the floor is completely dry before moving to the next stage.
Restoring and Repairing Water-Damaged Floors
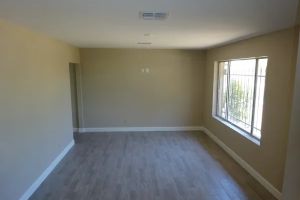
Once the wooden floors are dry, you may notice some warping or discoloration. While minor issues can often be addressed by sanding and refinishing the floor, more severe damage might require partial replacement.
1. Sanding the Floor
If your floorboards have warped or cupped slightly, sanding can help smooth out the surface. Be sure to use a fine-grit sandpaper and follow up with a wood finish to restore the appearance of the floor.
2. Replacing Damaged Sections
If some sections of the floor are beyond repair, you may need to replace individual planks. This can be done by carefully removing the damaged pieces and installing new ones. Make sure the new wood matches the existing floor in both style and finish for a seamless look.
3. Refinish the Entire Floor
If the water damage is extensive and the floor looks worn or stained, refinishing the entire floor may be necessary. This involves sanding down the top layer of the wood to remove any damage and applying a new protective finish.
How to Prevent Future Water Damage
Once you’ve dried and restored your wooden floors, you’ll want to take steps to prevent future water damage. Here are a few key prevention tips:
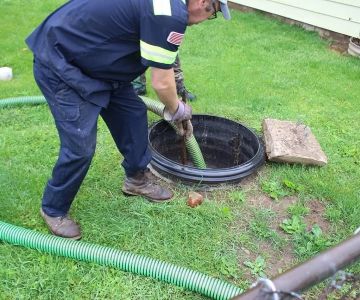
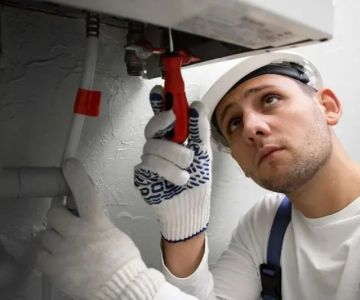
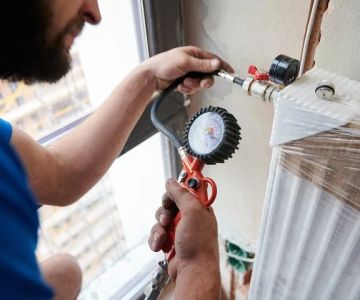
1. Regularly Maintain the Roof and Plumbing
Regular maintenance of your roof and plumbing systems is essential for preventing leaks that can lead to water damage on your wooden floors. Make sure to check your pipes for leaks and ensure that your roof is in good condition.
2. Install Moisture Barriers
Consider installing moisture barriers beneath your wooden floors if they are in areas prone to humidity or flooding. This can help protect the wood from absorbing moisture in the future.
3. Use Rugs and Mats in High-Risk Areas
Place mats or rugs in areas that are more susceptible to water exposure, such as near entryways or under sinks. These will help catch any water before it has a chance to seep into the wood.
 Aftermath Technologies5.0 (4 reviews)
 Superior4.0 (38 reviews)
 Madjudza Mold5.0 (3 reviews)
 Mr. Restore Services4.0 (13 reviews)
 Revive Painting & PowerWashing5.0 (408 reviews)
 City Masters5.0 (9 reviews)
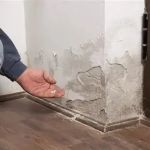 Water Damage Restoration Tips for Homeowners with Pets: Protect Your Home & Pets
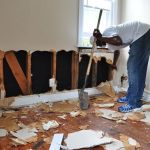 Water Damage Restoration Tips for Older Homes | Expert Advice
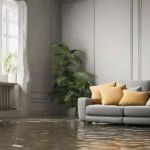 How Water Damage Affects Your Home’s Value and Ways to Prevent It
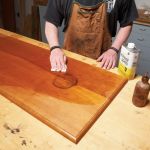 How to Restore Water-Damaged Wooden Furniture | Reliable Damage Hub
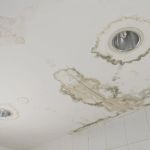 Water Damage Repair for Ceiling Tiles: Essential Tips and Solutions
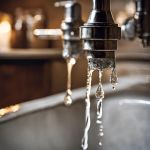 How to Handle Water Damage From Plumbing Failures: A Step-by-Step Guide