
- 1 - Causes of Water Damage in Your Home’s Subflooring
- 2 - How to Identify Signs of Water Damage in Subflooring
- 3 - Steps to Repair Water Damage in Subflooring
- 4 - Preventing Future Water Damage in Subflooring
- 5 - Recommended Products for Water Damage Repair
1. Causes of Water Damage in Your Home’s Subflooring
Water damage in subflooring can occur for many reasons. Understanding the root cause of the problem is the first step to preventing further damage and beginning repairs. Here are some common causes:
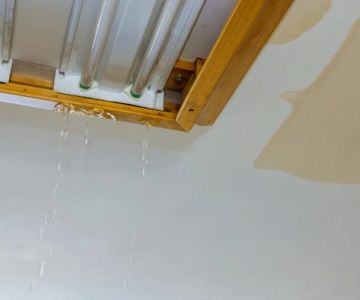
- Leaky Pipes: Leaking pipes under the floorboards can allow water to seep into the subflooring, weakening its structure.
- Flooding: Heavy rains or plumbing issues can lead to flooding, which often results in significant water damage to subflooring.
- Condensation: Excess moisture can accumulate beneath floors due to poor ventilation or humidity, leading to mold and rot.
2. How to Identify Signs of Water Damage in Subflooring
Early detection of water damage in subflooring can save you from costly repairs later on. Be aware of the following signs:
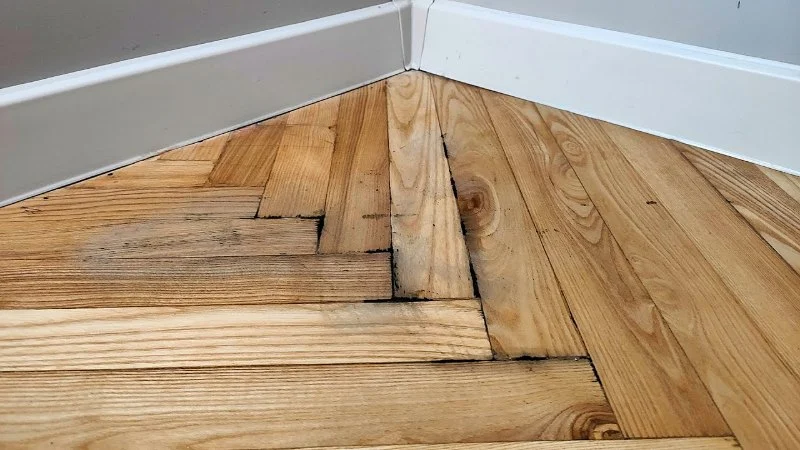
- Warped or Buckled Flooring: If you notice the flooring above the subflooring starts to bend or buckle, it could be a sign of water damage beneath.
- Musty Odor: A persistent damp smell often indicates the presence of mold or mildew caused by trapped moisture in the subfloor.
- Squeaky or Soft Spots: If you step on certain areas of your floor and hear a squeak or feel softness, the subfloor may be waterlogged.
3. Steps to Repair Water Damage in Subflooring
Once you’ve confirmed water damage in your subflooring, it’s essential to take immediate action. Here are the steps you can take to repair the damage:

Drip Restoration / valleywide restoration mesa az
932 S Stapley Dr, Mesa, AZ 85204, USA
Step 1: Identify the Source of Water
Before repairing, it’s crucial to stop the water source. Whether it’s a leaking pipe or a flood, addressing the cause of the water damage will prevent further issues.
Kustom US Restoration / kustom restoration
1215 W Houston Ave Suite A, Gilbert, AZ 85233, USA
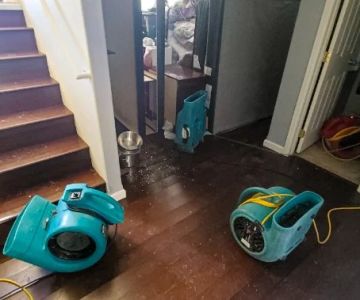
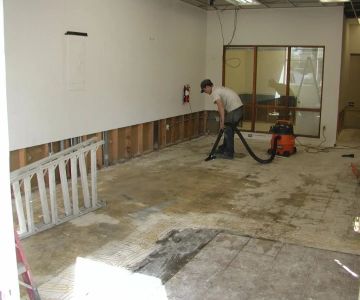
Step 2: Dry the Area
Dry out the affected area using fans, dehumidifiers, or a wet-dry vacuum to remove excess moisture. Allow the subfloor to dry completely before proceeding.
Step 3: Inspect the Subfloor
Inspect the subfloor for any signs of rot, mold, or mildew. If the damage is minor, you can treat it with mold-killing solutions and proceed with repairs.
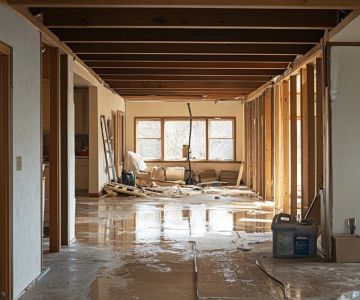
Step 4: Replace Damaged Sections
If the damage is extensive, you may need to remove and replace sections of the subfloor. This process involves cutting out the damaged wood and installing new material.
4. Preventing Future Water Damage in Subflooring
Prevention is always better than repair. Here are some helpful tips to prevent water damage in your subflooring:
- Improve Ventilation: Ensure proper ventilation in your home to reduce humidity and condensation buildup under the floors.
- Seal Cracks and Gaps: Use caulk or sealant to fill in any cracks or gaps in the walls and floors that may allow water to seep in.
- Regularly Check for Leaks: Conduct routine inspections of your plumbing and roof to identify leaks early.
5. Recommended Products for Water Damage Repair
At Reliable Damage Hub, we offer a variety of high-quality products that can help you repair water damage in your subflooring. Here are a few options:
- Mold Removers: High-strength mold and mildew removers to ensure thorough treatment of affected areas.
- Subflooring Replacement Kits: Ready-to-use kits for replacing damaged subfloor materials.
- Waterproof Sealants: Sealants to protect against moisture infiltration and prevent future damage.

 Sage Restoration LLC4.0 (69 reviews)
 NewGen Restores Inc4.0 (113 reviews)
 Nat-Cat4.0 (49 reviews)
 JES Foundation Repair4.0 (885 reviews)
 SERVPRO of Loudoun County, Leesburg4.0 (88 reviews)
 Unlimited Restoration, Inc. (URI) - Baltimore, MD Office4.0 (8 reviews)
 Water Damage Restoration for Industrial Offices
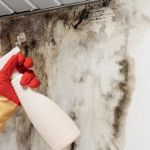 How to Handle Water Damage From Roof Leaks Effectively
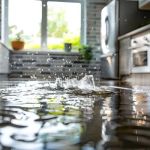 The Environmental Impact of Water Damage and Restoration: What You Need to Know
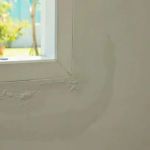 How to Spot and Fix Water Damage in Your Walls
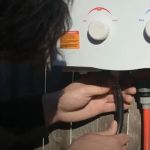 How to Handle Water Damage From Burst Water Heaters: A Step-by-Step Guide
 How to Handle Water Damage From Roof Flashing Failures