
- 1 - Understanding Water Damage to Garage Floors
- 2 - Common Causes of Water Damage
- 3 - Step-by-Step Repair Process for Water Damage
- 4 - Preventative Measures to Avoid Future Damage
- 5 - Real-Life Repair Stories
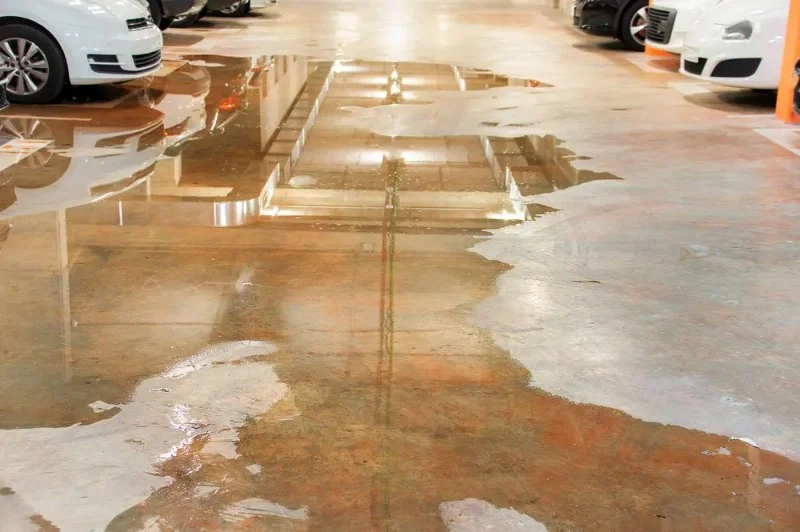
1 - Understanding Water Damage to Garage Floors
Water damage to garage floors can be a major concern for homeowners, leading to structural issues and unsightly stains. Whether it’s caused by flooding, leaks, or improper drainage, water damage can weaken the floor’s integrity, cause mold growth, and even lead to costly repairs if left untreated. Understanding how water affects garage floors is the first step in addressing the problem.
2 - Common Causes of Water Damage
There are several reasons why water might damage your garage floor. Identifying the root cause can help you determine the best repair approach. Common causes include:
2.1 Flooding or Heavy Rain
Heavy rainfall can lead to flooding, especially in areas with poor drainage. If your garage floor is not properly sealed, water may seep in through cracks, causing damage over time.
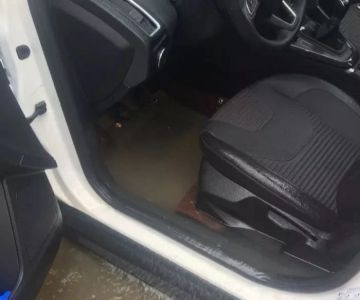
2.2 Plumbing Leaks
Leaks from plumbing pipes or water appliances in your garage, such as a washing machine or water heater, can slowly degrade the floor, causing water stains, mold growth, and cracks.
2.3 Poor Drainage Systems
Improper drainage around your garage or insufficient sloping of the floor can cause water to pool in certain areas, leading to long-term damage.
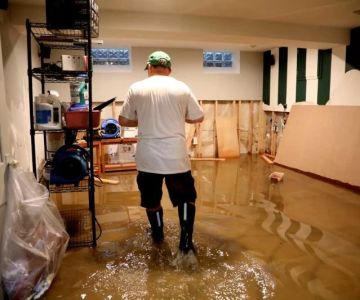
3 - Step-by-Step Repair Process for Water Damage
Now that you understand the causes, here’s a step-by-step guide on how to repair water damage to your garage floor.
3.1 Step 1: Identify the Source of Water
The first step in repairing water damage is identifying the source of the water. Whether it’s a leak, flooding, or poor drainage, pinpointing the cause will help you determine the right repair method. You may need to inspect plumbing, check for leaks, or assess the slope of your driveway and garage floor.
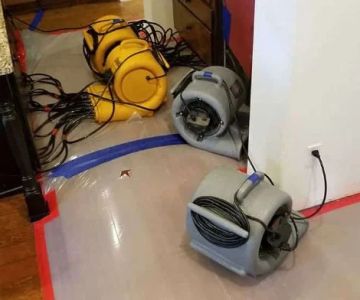
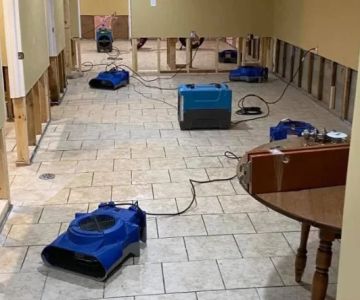
3.2 Step 2: Clean and Dry the Area
Once you’ve identified the source, it’s crucial to clean and dry the affected area. Use a wet/dry vacuum to remove standing water, then allow the garage floor to dry completely. Consider using fans or dehumidifiers to speed up the drying process. Ensure that the floor is dry to prevent mold and mildew growth.
3.3 Step 3: Inspect the Floor for Damage
After drying the floor, inspect it for visible damage. Look for cracks, stains, or mold growth. If there are any significant cracks, you will need to fill them before proceeding with further repairs. Minor stains can usually be cleaned with appropriate cleaning solutions.
3.4 Step 4: Repair Cracks and Holes
If your garage floor has visible cracks or holes, use a concrete patching compound to fill them in. Clean the cracks thoroughly before applying the compound, then smooth the surface with a trowel. Let the compound cure as per the manufacturer’s instructions.
3.5 Step 5: Apply a Sealant
To protect your garage floor from future water damage, apply a high-quality concrete sealant once the repairs are complete. Sealants help create a waterproof barrier that prevents moisture from seeping through cracks and pores in the floor.
4 - Preventative Measures to Avoid Future Damage
After fixing the water damage, it’s important to take preventative measures to avoid future issues. Here are some steps you can take to protect your garage floor:
4.1 Ensure Proper Drainage
Make sure that your garage is properly graded so water flows away from the foundation. Consider installing a drainage system or trench drains to direct water away from the garage floor.
4.2 Seal Cracks and Gaps
Regularly inspect your garage floor for new cracks or gaps and seal them immediately to prevent water infiltration. Use concrete caulking or sealants to maintain a protective barrier.
4.3 Install a Vapor Barrier
If your garage is prone to moisture, consider installing a vapor barrier beneath the floor to prevent water from rising through the concrete. This can be particularly useful in areas with high humidity or frequent rainfall.
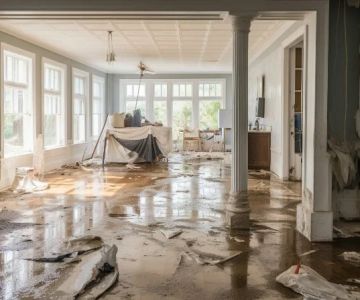
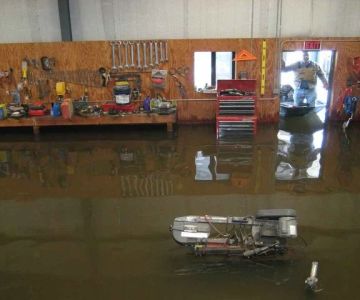
5 - Real-Life Repair Stories
Many homeowners have successfully fixed water damage to their garage floors. One example is the story of the Johnson family, who faced recurring flooding during heavy rains. After identifying poor drainage as the issue, they installed a French drain around the garage perimeter and sealed the cracks in their floor. Within a few months, their garage remained dry, and the damage was successfully prevented.
Another example is Mark, who dealt with water leaks from a faulty water heater in his garage. After fixing the leak and patching the floor, he applied a durable epoxy coating to prevent further water damage. His garage floor has remained in excellent condition ever since.
 Fast Track Restoration5.0 (101 reviews)
 BluSky Restoration Contractors4.0 (40 reviews)
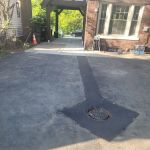 D&W Basement Waterproofing LLC.5.0 (25 reviews)
 Roof Geeks5.0 (18 reviews)
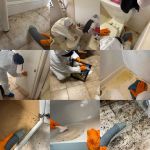 SERVPRO of Port St. Lucie NE4.0 (169 reviews)
 Content Recovery Specialists (CRS)5.0 (7 reviews)
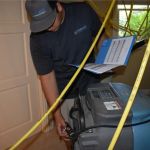 What You Need to Know About Emergency Water Damage Restoration
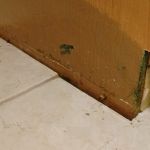 How to Restore Water-Damaged Kitchen Cabinets
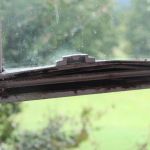 How to Identify and Repair Water Damage in Your Windows and Doors
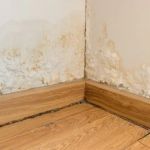 Water Damage Repair for Baseboards and Trim
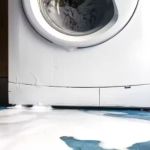 How to Handle Water Damage from an Overfilled Washing Machine
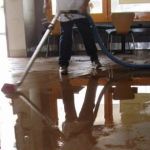 Water Damage Restoration After Sewer Flooding: What You Need to Know