
- 1- Introduction to Repairing Water-Damaged Wall Panels
- 2- Tools You’ll Need to Repair Water-Damaged Wall Panels
- 3- Step-by-Step Guide to Repairing Water-Damaged Wall Panels
- 4- Additional Tips for Preventing Further Water Damage
- 5- When to Seek Professional Help for Severe Water Damage
1- Introduction to Repairing Water-Damaged Wall Panels
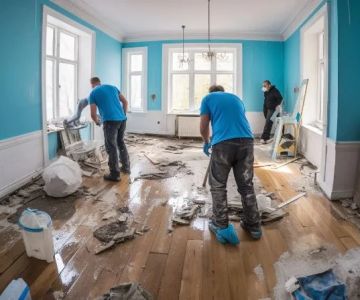
Water damage to your home can occur for several reasons, from leaky pipes to severe storms. One of the most common areas affected by water damage is the walls, particularly wall panels. Over time, these panels can warp, discolour, or become moldy, leading to a potential health hazard and a visual eyesore. Fortunately, repairing water-damaged wall panels can often be a straightforward DIY project that requires a few basic tools and materials.

Drip Restoration / valleywide restoration mesa az
932 S Stapley Dr, Mesa, AZ 85204, USA
1.1 Why You Should Address Water Damage Immediately
Ignoring water damage can lead to worsening conditions. Prolonged exposure to moisture can weaken the structural integrity of your walls, cause mold and mildew growth, and even affect air quality. By acting quickly and repairing damaged wall panels, you can prevent further damage and protect your home and family’s health.

Kustom US Restoration / kustom restoration
1215 W Houston Ave Suite A, Gilbert, AZ 85233, USA
2- Tools You’ll Need to Repair Water-Damaged Wall Panels
Before beginning the repair process, gather the necessary tools and materials. Having everything prepared will make the process more efficient and less frustrating.
2.1 Essential Tools
- Utility knife
- Measuring tape
- Screwdriver or drill
- Drywall patches or replacement panels
- Joint compound
- Putty knife
- Sandpaper or sanding block
- Paint or wall covering (if needed)
- Gloves and safety glasses
3- Step-by-Step Guide to Repairing Water-Damaged Wall Panels
Now that you have your tools ready, it's time to start the repair process. Here is a step-by-step guide to help you restore your damaged wall panels to their former glory:
3.1 Step 1: Assess the Damage
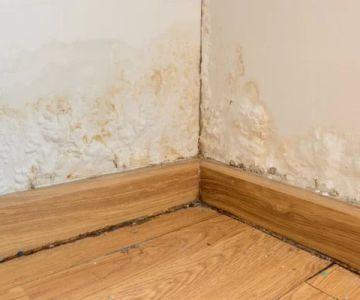
Before beginning any repairs, you need to assess the extent of the damage. If the wall panel is severely warped, stained, or covered in mold, it may be easier to replace the damaged area rather than attempting to repair it. For minor damage, such as small water stains or slight swelling, repair is usually feasible.
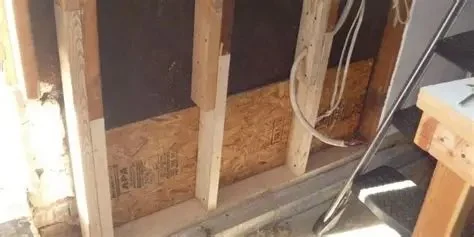
3.2 Step 2: Remove the Damaged Wall Panel
Use your utility knife to cut around the edges of the damaged panel. If it is drywall, be cautious not to damage the studs or insulation behind it. Once you’ve cut the panel, carefully remove it from the wall.
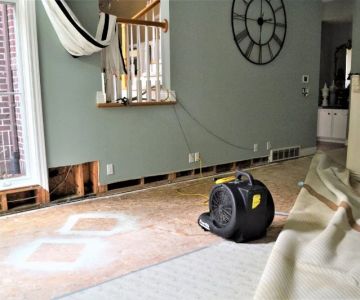
3.3 Step 3: Dry the Area Thoroughly
Before you replace the damaged panel, make sure the wall area is completely dry. Use a fan, dehumidifier, or allow it to air dry for several hours or even days, depending on the level of moisture. Ensure the area is thoroughly dried to prevent future mold or mildew growth.
3.4 Step 4: Install the New Wall Panel
If replacing the wall panel is necessary, measure the area to ensure your new panel fits properly. Cut the new panel to size and fit it into the space. Use a screwdriver or drill to secure it to the studs in the wall.
3.5 Step 5: Apply Joint Compound and Sand
Once the new panel is secured, use a putty knife to spread joint compound along the seams where the new panel meets the existing wall. Smooth it out and allow it to dry. After it has dried, use sandpaper to smooth the surface, ensuring it’s flush with the rest of the wall.
3.6 Step 6: Paint or Cover the Wall
Once the surface is smooth, you can paint over the area to match the rest of the wall. If you use wallpaper or another wall covering, ensure the new panel blends seamlessly with the existing surface. Allow everything to dry completely before proceeding with any other home repairs.
4- Additional Tips for Preventing Further Water Damage
Water damage can easily happen again if the underlying issue isn't addressed. Here are some extra tips to prevent water damage in the future:
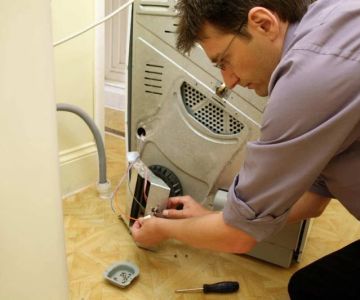
4.1 Regularly Check for Leaks
Regularly inspect your plumbing for any leaks. Pay attention to pipes under sinks, around bathtubs, and in basements. Fixing leaks early can prevent long-term water damage.
4.2 Ensure Proper Drainage
Make sure your gutters and downspouts are free from debris and that water flows away from the foundation of your house. Poor drainage can lead to water seeping into your walls and causing damage over time.
4.3 Install a Dehumidifier
If you live in a particularly humid area, a dehumidifier can help control moisture levels in your home, reducing the risk of water damage and mold growth.
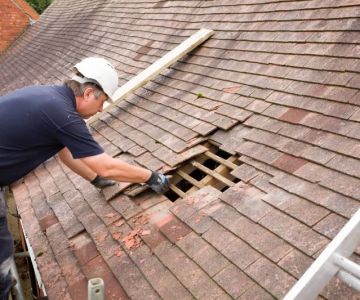
5- When to Seek Professional Help for Severe Water Damage
In some cases, water damage may be beyond the scope of a DIY repair. If the damage is extensive, has caused structural issues, or has resulted in significant mold growth, it's best to seek professional help. A professional contractor or restoration service can assess the damage, provide a long-term solution, and ensure your home is safe from further water-related issues.
5.1 Signs You Should Call a Professional
- Extensive mold growth that cannot be cleaned easily
- Visible signs of structural damage, such as sagging or cracking
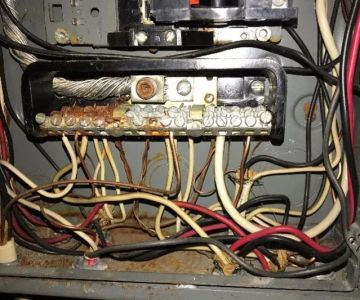
- Water damage affecting electrical systems
- Ongoing moisture problems despite repairs
 Good Roads Water Damage Experts5.0 (1 reviews)
 R&R Foundation Specialist4.0 (305 reviews)
 MJ White4.0 (102 reviews)
 ATI Restoration3.0 (25 reviews)
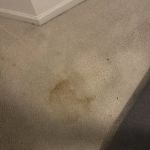 Modernistic4.0 (251 reviews)
 ServiceMaster Cleaning Services4.0 (27 reviews)
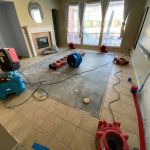 Water Damage Restoration for Retail Spaces – Expert Tips and Real Cases
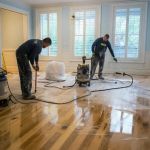 How to Prevent and Repair Water Damage in Commercial Properties
 How to Protect Your Home’s Electrical System from Water Damage: Essential Tips
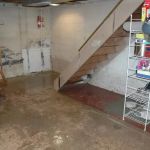 Flooded Basement? Here’s How to Restore It Safely
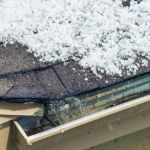 How to Handle Water Damage After a Storm: A Step-by-Step Guide
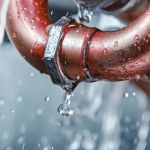 How to Handle Water Damage from Burst Pipes: A Step-by-Step Guide