
What Is the Best Way to Repair Water-Damaged Drywall?
- Understanding Water-Damaged Drywall
- How to Assess the Damage
- Tools and Materials Needed for Repair
- Step-by-Step Guide to Repairing Water-Damaged Drywall
- Common Mistakes to Avoid
- When to Call a Professional
- Real-Life Case Studies
1. Understanding Water-Damaged Drywall
Water-damaged drywall is a common issue that many homeowners face, particularly in areas prone to flooding or leaks. Drywall, or gypsum board, is highly susceptible to moisture, and when it gets wet, it can lose its structural integrity, leading to unsightly stains, warping, or even mold growth.
When dealing with water-damaged drywall, it's essential to act quickly to prevent further deterioration and ensure the safety of your home. The severity of the damage can range from minor cosmetic issues to major structural problems. The sooner you address the damage, the easier and less costly the repair will be.

Kustom US Restoration / kustom restoration
1215 W Houston Ave Suite A, Gilbert, AZ 85233, USA
2. How to Assess the Damage
Before starting any repair work, it’s important to assess the extent of the damage. Follow these steps to evaluate the condition of your drywall:
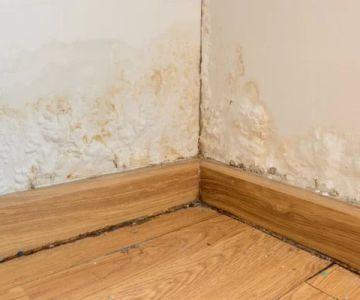
- Inspect for Visible Signs of Damage: Look for water stains, discoloration, or sagging in the drywall. These are signs that the drywall has absorbed moisture and may be compromised.
- Check for Mold: If the drywall has been wet for a prolonged period, mold may begin to form. Mold growth can be hazardous to your health, so if you notice any, take immediate action to address it.
- Feel the Drywall: Gently press your hand against the drywall to check for softness or sponginess. If the drywall feels soft or crumbly, it's likely that it needs to be replaced.
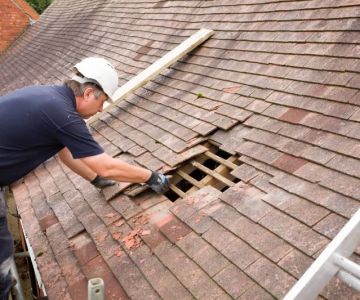
- Examine the Surrounding Area: Ensure that the source of the water damage is fixed before repairing the drywall. This could involve repairing leaks, broken pipes, or poor ventilation that caused the damage in the first place.
Once you've assessed the damage, you can decide whether it's a simple repair or if the drywall needs to be replaced entirely.

SERVPRO of Pompano Beach / servpro of santa maria
Pompano BeachBroward CountyFlorida
2101 NW 33rd St #200a, Pompano Beach, FL 33069, USA
3. Tools and Materials Needed for Repair
Depending on the severity of the damage, repairing water-damaged drywall may require several tools and materials. Here's a list of what you'll need:
- Utility Knife: To cut through damaged drywall.
- Drywall Compound: For patching small holes or imperfections.
- Drywall Tape: To reinforce seams and joints.
- Sandpaper: For smoothing out patches and blending them with the surrounding area.
- Paint or Primer: To restore the appearance of the repaired area.
- Caulk or Sealant: For sealing any gaps that may have allowed water to enter.
- Protective Gear: Such as gloves, a dust mask, and goggles to ensure safety during the repair process.
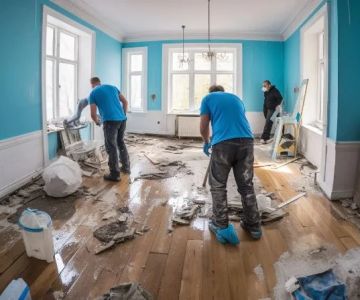
4. Step-by-Step Guide to Repairing Water-Damaged Drywall
Once you've assessed the damage and gathered the necessary materials, follow this step-by-step guide to repair your water-damaged drywall:
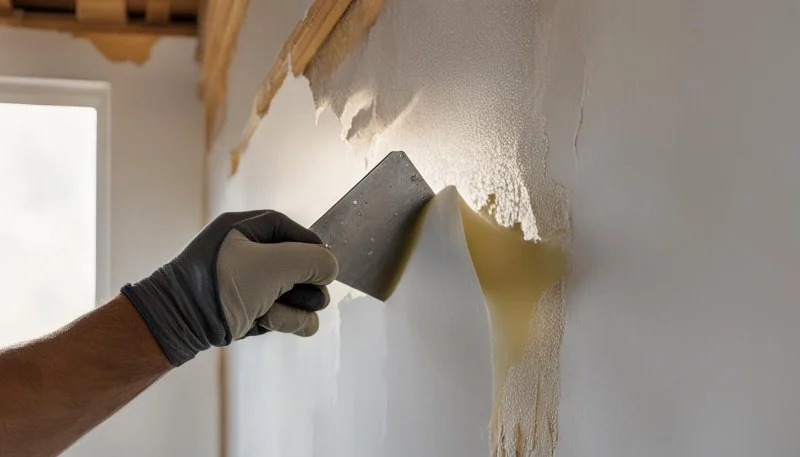
- Step 1: Cut Away the Damaged Drywall – Use a utility knife to remove the damaged area of drywall. Cut around the water-stained section and remove the piece carefully. If the damage is extensive, you may need to remove a larger portion.
- Step 2: Install New Drywall – Measure and cut a new piece of drywall to fit the area where the damaged section was removed. Attach it securely to the studs with drywall screws or nails.
- Step 3: Apply Drywall Tape and Compound – Place drywall tape over the seams and cover it with a layer of drywall compound. Use a drywall knife to smooth the compound and ensure it blends seamlessly with the surrounding area.
- Step 4: Sand the Surface – After the compound has dried, sand the surface to smooth it out and remove any imperfections.
- Step 5: Paint and Prime – Once the repair is smooth, apply a coat of primer and paint to match the surrounding wall.
This process can typically be done by a DIYer, but make sure to take your time to avoid rushing the repair. Thorough sanding and proper painting will ensure that the repair is nearly invisible.
5. Common Mistakes to Avoid
When repairing water-damaged drywall, there are several common mistakes that homeowners should avoid to ensure a successful repair:
- Not Fixing the Source of Water: If you don’t address the source of the water damage (e.g., leaks, plumbing issues), the problem will likely return. Always fix the underlying issue before repairing the drywall.
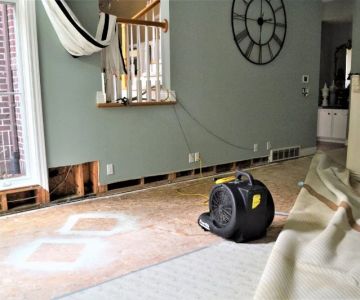
- Skipping the Drying Process: It’s crucial to allow the drywall to dry completely before making repairs. If you attempt to repair drywall while it's still damp, the repair may not adhere properly and mold can develop.
- Not Using Proper Tools: Using the wrong tools, like an ordinary knife instead of a utility knife, can lead to jagged cuts or improper adhesion of materials.
- Rushing the Drying Time: Be patient and give the drywall and compound adequate time to dry between steps. Rushing these processes will compromise the repair's quality.
6. When to Call a Professional
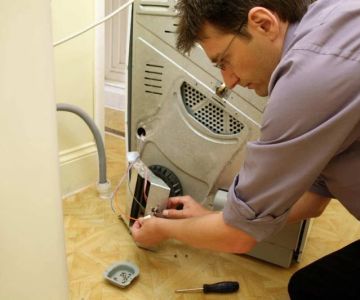
While small, localized repairs can often be handled by homeowners, larger or more severe water damage may require the expertise of a professional. If the drywall has been saturated for a long period or if you’re dealing with significant mold growth, it’s best to consult a contractor or water damage specialist. Professionals will ensure that the damage is completely addressed, preventing future issues from arising.
If you're unsure about the extent of the damage or don’t have the time to tackle the project, calling a professional can save you time and potential future costs.
7. Real-Life Case Studies
In one case, a homeowner in Texas noticed water stains on their ceiling after a heavy rainstorm. They attempted to patch the damage themselves, but the water had seeped deeper into the drywall, causing mold to develop. Eventually, the homeowner had to replace the entire ceiling section, which could have been avoided with a more thorough assessment and quicker intervention.
On the other hand, a homeowner in Florida experienced a similar issue but caught the problem early. After noticing a small leak, they repaired the drywall immediately after fixing the source of the water. The repair was successful, and there was no mold growth. This case highlights the importance of quick action when dealing with water-damaged drywall.
If you're looking for the right products, services, or expert recommendations on drywall repairs, visit Reliable Damage Hub for helpful suggestions.
 Good Roads Water Damage Experts5.0 (1 reviews)
 R&R Foundation Specialist4.0 (305 reviews)
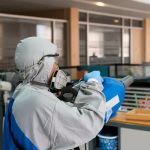 MJ White4.0 (102 reviews)
 ATI Restoration3.0 (25 reviews)
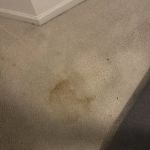 Modernistic4.0 (251 reviews)
 ServiceMaster Cleaning Services4.0 (27 reviews)
 Water Damage Restoration for Retail Spaces – Expert Tips and Real Cases
 How to Prevent and Repair Water Damage in Commercial Properties
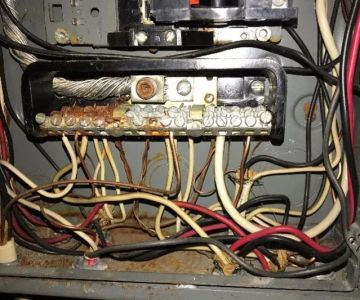
 How to Protect Your Home’s Electrical System from Water Damage: Essential Tips
 Flooded Basement? Here’s How to Restore It Safely
 How to Handle Water Damage After a Storm: A Step-by-Step Guide
 How to Handle Water Damage from Burst Pipes: A Step-by-Step Guide