
- 1-Understanding-Water-Damage-in-Hardwood-Floors
- 2-Immediate-Steps-to-Take-After-Water-Exposure
- 3-Proper-Drying-Techniques-for-Hardwood-Floors
- 4-Repairing-Warped-or-Damaged-Wood
- 5-Real-Home-Restoration-Story-and-Insights
- 6-When-Restoration-Is-Not-Enough
- 7-Preventing-Future-Water-Damage
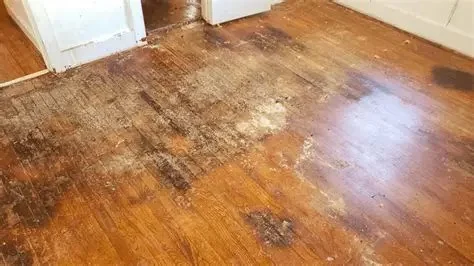
1. Understanding Water Damage in Hardwood Floors
Before learning how to restore water-damaged hardwood flooring in your home, it’s important to understand what actually happens when wood is exposed to moisture. Hardwood is naturally porous, which means it absorbs water quickly and reacts by expanding, warping, or even cracking.

Wizard Restorations Inc / puroclean of san fernando
Rancho CucamongaSan Bernardino CountyCalifornia
10245 8th St, Rancho Cucamonga, CA 91730, USA
1.1 Types of water damage
1. Surface damage that affects the finish layer.
2. Moderate damage causing cupping or slight warping.
3. Severe damage leading to buckling or structural issues.
Giants / dry kings restoration of san francisco
San FranciscoSan Francisco CountyCalifornia
685 Geary Blvd, San Francisco, CA 94102, USA
1.2 Why hardwood reacts so quickly
1. Wood fibers expand when exposed to moisture.
2. Uneven drying creates distortion in planks.
3. Prolonged exposure weakens the structure.
Recognizing the type of damage early helps determine whether restoration is possible or replacement is needed.
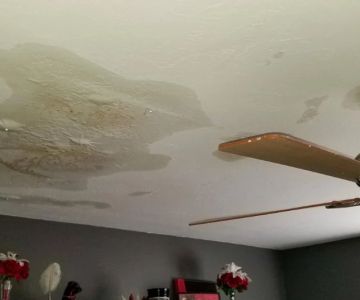
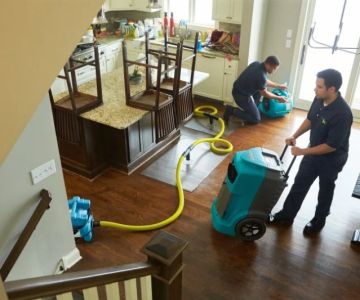
2. Immediate Steps to Take After Water Exposure
Time is critical when dealing with water-damaged hardwood floors. Acting quickly can significantly reduce long-term damage.
2.1 Stop the source of water
1. Turn off leaking appliances or pipes immediately.
2. Prevent further water from spreading.
3. Isolate the affected area if possible.
2.2 Remove standing water
1. Use mops or wet vacuums for fast removal.
2. Focus on seams between boards.
3. Avoid letting water sit for extended periods.
2.3 Protect surrounding areas
1. Move furniture away from wet flooring.
2. Place protective coverings in adjacent rooms.
3. Limit foot traffic to reduce further damage.
Guides available through Reliable Damage Hub often stress that the first 24 hours are the most important for saving hardwood floors.
3. Proper Drying Techniques for Hardwood Floors
Drying is the most crucial stage in restoration and must be done carefully to avoid additional warping.
3.1 Air circulation methods
1. Use high-powered fans to move air across the floor.
2. Position airflow along the grain of the wood.
3. Maintain consistent ventilation.
3.2 Dehumidification strategies
1. Use dehumidifiers to remove moisture from the air.
2. Monitor humidity levels closely.
3. Prevent reabsorption of moisture into wood.
3.3 Controlled drying approach
1. Avoid excessive heat that may crack wood.
2. Allow gradual drying over several days.
3. Check for signs of improvement or worsening.
Proper drying can often reverse minor warping if done correctly and patiently.
4. Repairing Warped or Damaged Wood
Once the floor is dry, the next step is restoring its appearance and structure.
4.1 Fixing cupped flooring
1. Light sanding can smooth uneven surfaces.
2. Ensure the wood is completely dry before sanding.
3. Refinish the surface for a consistent look.
4.2 Addressing buckling or lifting
1. Secure loose boards back into place.
2. Replace severely warped planks.
3. Check subfloor for hidden moisture damage.
4.3 Refinishing the floor
1. Apply a new protective sealant.
2. Restore color and texture.
3. Improve durability against future damage.
Consulting resources like Reliable Damage Hub can help homeowners choose the right repair approach based on severity.
5. Real Home Restoration Story and Insights
A homeowner in Illinois experienced water damage after a dishwasher leak spread into the hardwood flooring. Initially, they considered replacing the entire floor.
1. They removed water quickly and used professional drying equipment.
2. After several days, cupping reduced significantly.
3. Light sanding and refinishing restored the original look.
This case demonstrates that even noticeable damage can sometimes be reversed with proper action and patience, saving thousands in replacement costs.
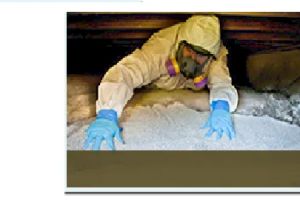
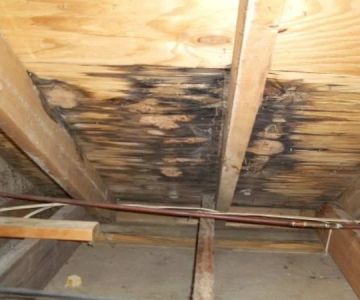
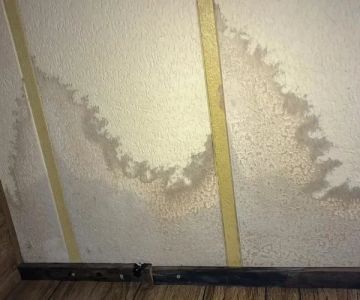
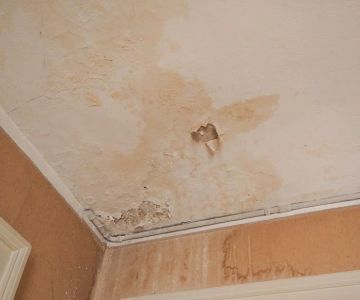
6. When Restoration Is Not Enough
In some situations, restoring water-damaged hardwood flooring may not be feasible.
6.1 Severe structural damage
1. Extensive buckling across large areas.
2. Subfloor damage compromising stability.
3. Long-term exposure leading to rot.
6.2 Mold and contamination risks
1. Mold growth beneath flooring.
2. Persistent odors despite drying.
3. Health concerns requiring full removal.
6.3 Cost-benefit considerations
1. Repairs may exceed replacement costs.
2. New flooring offers longer-term durability.
3. Professional evaluation helps guide decisions.
Understanding these limits ensures homeowners make informed choices rather than investing in ineffective repairs.
7. Preventing Future Water Damage
Prevention plays a major role in protecting hardwood flooring long-term.
7.1 Routine maintenance
1. Inspect plumbing and appliances regularly.
2. Clean spills immediately.
3. Monitor humidity levels inside the home.
7.2 Protective measures
1. Use waterproof mats in high-risk areas.
2. Apply protective finishes to wood surfaces.
3. Install leak detection systems.
7.3 Smart home strategies
1. Automatic shut-off valves prevent major leaks.
2. Moisture sensors provide early warnings.
3. Regular inspections reduce unexpected damage.
By combining quick action, proper restoration techniques, and preventative measures, homeowners can preserve the beauty and longevity of their hardwood flooring even after water-related incidents.
 SERVPRO of Southeast Portland4.0 (42 reviews)
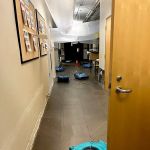 ServiceMaster Restoration Services - Lincoln City4.0 (18 reviews)
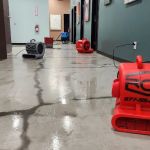 Rapid Clean Restoration5.0 (9 reviews)
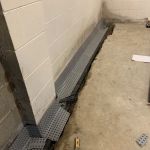 Advanced Basement Waterproofing LLC4.0 (32 reviews)
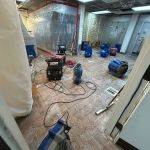 Anatom4.0 (116 reviews)
 Repair Squad4.0 (159 reviews)
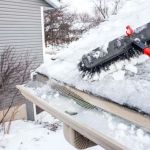 How to Prevent Water Damage from Heavy Snowmelt
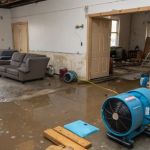 The Best Ways to Handle Water Damage Restoration on a Budget
 How to Dry Out Water-Damaged Rugs Quickly
 What You Need to Know About Water Damage in Your Car
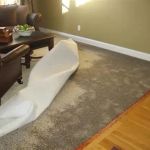 How to Restore Water-Damaged Upholstery - Expert Tips and Solutions
 Water Damage Restoration for Retail Spaces: Effective Solutions for Commercial Properties