
- 1. Introduction to Ceiling Water Damage
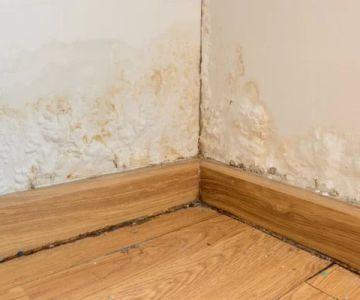
- 2. Identifying Water Damage in Your Ceiling
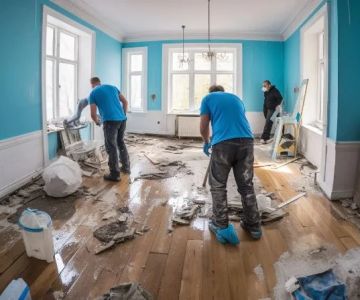
- 3. Preparing the Area for Repair
- 4. How to Repair the Water-Damaged Ceiling
- 5. Preventing Future Water Damage
1. Introduction to Ceiling Water Damage
Water damage in your ceiling is a common problem that can occur for a variety of reasons, such as a leaking roof, broken pipes, or condensation buildup. If left unchecked, water damage can weaken the structural integrity of your ceiling and lead to mold growth, which can pose a health risk. It’s important to address water damage promptly to prevent further issues.
In this article, we’ll walk you through the steps on how to repair water-damaged ceilings, from identifying the damage to restoring your ceiling to its former condition. Whether you’re dealing with a small stain or a large section of water-damaged drywall, our guide will help you tackle the repair with confidence.

Drip Restoration / valleywide restoration mesa az
932 S Stapley Dr, Mesa, AZ 85204, USA
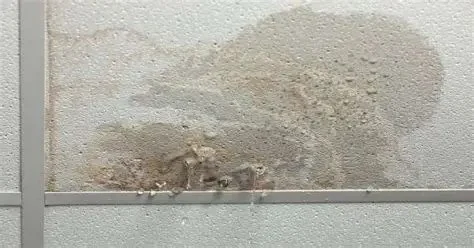
2. Identifying Water Damage in Your Ceiling
The first step in repairing water-damaged ceilings is to properly assess the extent of the damage. Here are some signs to look for:
- Discoloration: Water stains typically appear as brown or yellowish spots on your ceiling. This is one of the first indicators that water has seeped through the ceiling material.
- Peeling Paint: If the paint or wallpaper on your ceiling starts to peel or bubble, it could be due to water damage. This happens when moisture gets trapped underneath the paint.
- Sagging Ceiling: If the ceiling feels soft or sags under the weight of water, it may indicate a significant water leak, often from a roof leak or broken pipe.
- Mold or Mildew: The presence of mold or mildew is a clear sign of prolonged moisture exposure. Mold can develop quickly in damp environments, so it’s essential to act fast.
Once you identify the damage, it’s important to trace the source of the water leak to ensure that it’s fixed before you start the repair process. Whether the issue is a leaky roof, burst pipe, or condensation, solving the root cause will prevent future water damage.
Giants / dry kings restoration of san francisco
San FranciscoSan Francisco CountyCalifornia
685 Geary Blvd, San Francisco, CA 94102, USA
3. Preparing the Area for Repair
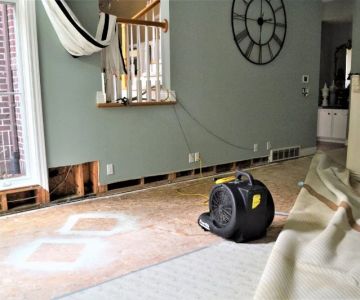
Before starting the repair, you need to take a few preparatory steps to ensure safety and effectiveness. Here’s what you should do:
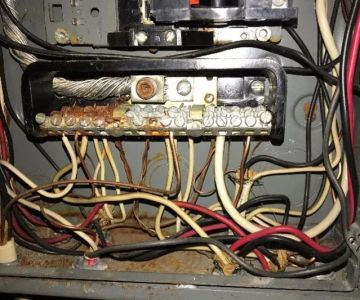
- Turn off Utilities: If the damage is near electrical wiring or outlets, turn off the power to the affected area to avoid electrical hazards.
- Remove Furniture and Protect Floors: Move any furniture or items away from the repair area. Use plastic tarps or drop cloths to cover the floor and protect it from debris and dust.
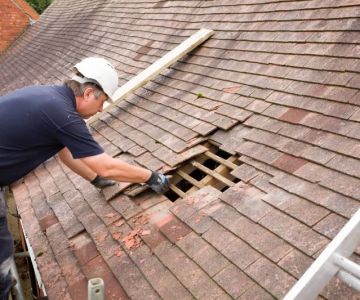
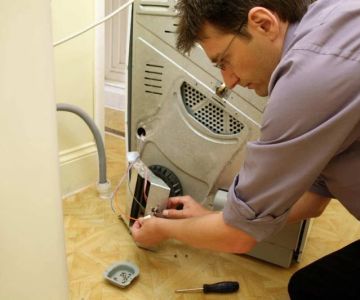
- Inspect the Roof or Pipe: Ensure that the roof leak, plumbing issue, or other sources of water damage have been addressed. You may need to hire a professional to fix any underlying issues before continuing with the repair.
4. How to Repair the Water-Damaged Ceiling
Now that the area is prepared, it's time to repair the ceiling. The method you use will depend on the extent of the damage. Follow these steps for a successful repair:
- Dry the Area: Use fans, a dehumidifier, or a heat gun to thoroughly dry the water-damaged area. Make sure that no moisture remains before proceeding with the repair.
- Cut Out Damaged Material: For larger areas of damage, you may need to cut out the affected drywall. Use a drywall saw to carefully remove the damaged portion. Be sure to leave a clean edge to make the repair easier.
- Apply a New Layer of Drywall or Plaster: Once the damaged material is removed, replace it with new drywall or plaster. If you're using drywall, cut it to the correct size, screw it into place, and secure it firmly to the ceiling studs.
- Joint Compound and Tape: Apply joint compound around the edges of the new drywall, and use drywall tape to reinforce the seams. Smooth out the compound and allow it to dry completely before sanding it smooth.
- Prime and Paint: Once the joint compound is dry and smooth, apply a primer to the repaired area. After the primer dries, you can paint over it to match the rest of your ceiling.
For smaller areas of damage, you can use patching compounds and plaster, which may not require cutting out the drywall. However, for larger sections or areas with significant structural damage, it’s best to consult a professional for assistance.
5. Preventing Future Water Damage
Repairing water damage is only part of the process; preventing future damage is crucial for the longevity of your home. Here are some tips to help prevent water damage from occurring again:
- Maintain Your Roof: Regularly inspect and clean your roof to prevent leaks. Ensure that gutters are clear and downspouts are functioning properly to divert water away from your home.
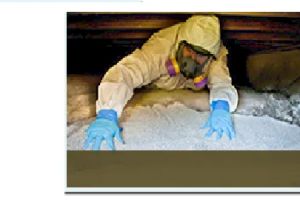
- Fix Leaky Pipes: Check for any signs of leaks in your plumbing, especially in attics or areas prone to condensation. Regular maintenance can help identify problems before they cause major damage.
- Use Proper Insulation: Insulating your attic and ceiling can help regulate temperature and prevent moisture buildup, which can lead to water damage and mold growth.
By staying proactive about roof maintenance, plumbing repairs, and insulation, you can reduce the risk of future water damage and protect your home from costly repairs.
For more advice on ceiling repair and other home maintenance tasks, visit Reliable Damage Hub, where we provide expert resources and quality services to help you keep your home in top shape.
 Good Roads Water Damage Experts5.0 (1 reviews)
 R&R Foundation Specialist4.0 (305 reviews)
 MJ White4.0 (102 reviews)
 ATI Restoration3.0 (25 reviews)
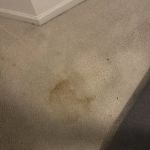 Modernistic4.0 (251 reviews)
 ServiceMaster Cleaning Services4.0 (27 reviews)
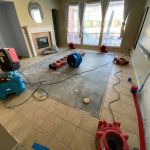 Water Damage Restoration for Retail Spaces – Expert Tips and Real Cases
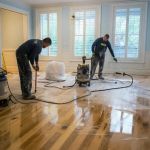 How to Prevent and Repair Water Damage in Commercial Properties
 How to Protect Your Home’s Electrical System from Water Damage: Essential Tips
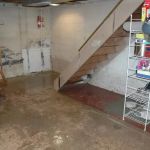 Flooded Basement? Here’s How to Restore It Safely
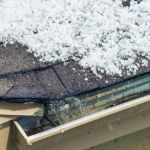 How to Handle Water Damage After a Storm: A Step-by-Step Guide
 How to Handle Water Damage from Burst Pipes: A Step-by-Step Guide