
- identifying-damage-signs-early - recognizing moisture, stains, and structural warning indicators
- diagnosing-entry-point-leaks - understanding where water enters around doors and exterior walls
- step-by-step-repair-process - practical restoration of damaged areas and materials
- preventing-future-water-intrusion - waterproofing, sealing, and maintenance strategies
- real-homeowner-case-study - lessons learned from a real leak repair situation
Why Outdoor Entry Points Become the Weakest Barrier Against Water
Outdoor entry points are often the most vulnerable part of any home’s exterior. Doors, thresholds, garage entries, and side access points are constantly exposed to wind-driven rain, snowmelt, and shifting temperatures. Over time, even a well-built structure can develop small gaps that allow moisture to creep in unnoticed.
The issue with water damage around these areas is that it rarely appears all at once. It starts subtly—paint bubbling near a door frame, a faint musty smell in the hallway, or a slightly warped wooden threshold. Homeowners often ignore these early warnings, assuming it is just cosmetic wear. In reality, these are early stages of structural intrusion that require immediate attention.
In coastal and rainy regions across the United States, contractors frequently report that over 40% of localized home water damage originates at exterior entry points. This makes understanding repair and prevention not just helpful—but essential for long-term property protection.
SERVPRO of Pompano Beach / servpro of santa maria
Pompano BeachBroward CountyFlorida
2101 NW 33rd St #200a, Pompano Beach, FL 33069, USA
How to Identify Water Damage Before It Spreads
Subtle Surface Clues Most Homeowners Miss
The earliest signs of moisture intrusion often appear harmless. You might notice slight discoloration near door frames, soft drywall edges, or peeling caulk along the threshold. These symptoms indicate that water has already found a path inside.
One common misconception is that visible dripping is required for water damage to exist. In reality, water intrusion is often hidden behind trim or siding for weeks before becoming obvious.
Structural Changes That Signal Deeper Problems
When moisture persists, materials begin to weaken. Wood may swell and resist closing properly, while metal fixtures may show early corrosion. Flooring near entry points can begin to lift slightly, especially laminate or engineered wood.
At this stage, the damage is no longer superficial. It requires not only surface repair but also inspection of underlying sealing systems and insulation layers.
Understanding Where the Water Actually Enters
Door Threshold Failures and Gaps
One of the most frequent causes of water damage is a compromised door threshold. Even a small misalignment can create a channel for rainwater to flow inward during storms. Over time, repeated exposure enlarges the gap, accelerating deterioration.
Exterior Wall and Siding Intrusion Points
Water can also enter through siding seams or poorly sealed joints around windows adjacent to entryways. Once moisture enters the wall cavity, it spreads horizontally and vertically, often affecting areas far from the original entry point.
Foundation-Level Entry Leaks
Homes with slightly sloped grading issues around entry steps are particularly vulnerable. Water tends to pool near the base of doors and slowly seep into the foundation structure, leading to long-term stability concerns.
Step-by-Step Repair Process for Water Damage Around Entry Points
Step 1: Drying and Damage Assessment
Before any repair work begins, the affected area must be fully dried. This may involve removing baseboards, trimming damaged drywall, or using industrial drying equipment. The goal is to ensure no hidden moisture remains trapped inside materials.
Step 2: Removing Compromised Materials
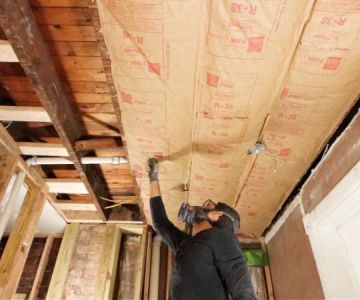
Any material that has absorbed water beyond recovery must be removed. This includes softened wood, swollen trim, and deteriorated insulation. Leaving compromised materials in place only allows mold and structural decay to continue spreading.
Step 3: Sealing Entry Pathways
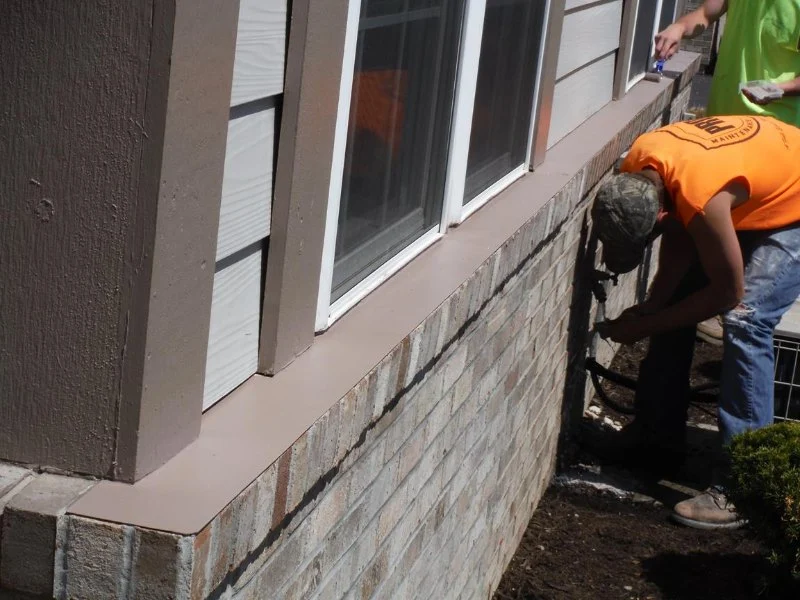
Once the area is cleared, the true repair begins. High-quality exterior sealants are applied to gaps around door frames, thresholds, and siding seams. In more severe cases, flashing systems may need to be replaced to redirect water away from vulnerable areas.
Step 4: Restoration and Finishing Work
After sealing, damaged interior surfaces are rebuilt. This may include replacing drywall, repainting, and reinstalling trim. The goal is not only to restore appearance but also to reinforce the barrier against future moisture intrusion.
A Real Homeowner Case: When a Small Leak Became a Major Repair
A homeowner in the Midwest once noticed a faint musty smell near their back door every time it rained. At first, they assumed it was seasonal humidity. Months later, the wooden frame around the door began to soften, and paint started bubbling along the lower wall.
By the time a professional inspection was conducted, water had already penetrated the subfloor beneath the entryway. What started as a minor seal failure had evolved into a full structural repair involving flooring replacement and wall reconstruction.
The key lesson from this case is simple: early intervention saves thousands in repair costs. Ignoring small warning signs around entry points almost always leads to larger structural issues.
Preventing Future Water Damage Around Outdoor Entry Points
Routine Seal Inspection and Maintenance
Sealants degrade over time due to UV exposure and temperature fluctuations. Checking door frames and exterior joints at least twice a year helps catch early deterioration before leaks form.
Proper Exterior Drainage Design
Water should always be directed away from entry points. Proper grading, functioning gutters, and extended downspouts significantly reduce the risk of pooling water near doors and thresholds.
Material Upgrades for Long-Term Protection
Modern waterproof membranes and reinforced flashing systems offer far greater protection than older construction materials. Investing in these upgrades during renovation can dramatically extend the lifespan of entryway structures.
When Professional Help Becomes Necessary
While minor sealing work can often be handled by homeowners, deeper water intrusion requires professional assessment. If moisture has reached insulation layers or structural framing, specialized drying and restoration techniques are essential.
Homeowners looking for reliable guidance and quality repair solutions often turn to platforms like Reliable Damage Hub, where they can explore professional-grade materials and service options tailored to water intrusion problems.
Final Thoughts on Protecting Your Home’s Entry Points
Water damage around outdoor entry points is one of the most common yet preventable issues in residential homes. With early detection, proper repair techniques, and consistent maintenance, homeowners can significantly reduce the risk of long-term structural damage.
Understanding how water moves, where it enters, and how materials respond to moisture gives you a practical advantage in protecting your property. The key is not reacting after damage appears—but preventing it before it begins.
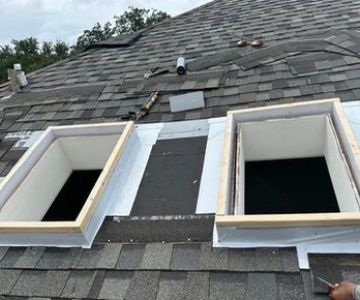
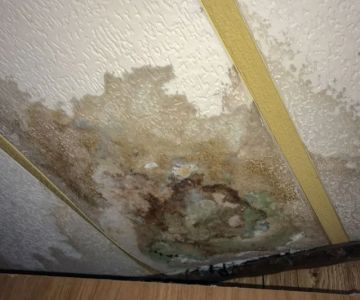
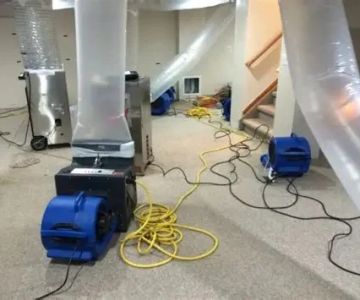

 DRYmedic Restoration Services5.0 (23 reviews)
 Badgerland Restoration & Remodeling Inc. - Wisconsin Rapids5.0 (26 reviews)
 Eco Restoration & Cleaning Services5.0 (9 reviews)
 Stanley Steemer4.0 (4024 reviews)
 Quick-Brite4.0 (10 reviews)
 PuroClean of Massapequa5.0 (21 reviews)
 Water Damage Repair for Bathroom Flooring and Tile in the USA
 How to Restore Water-Damaged Personal Items
 How to Safely Remove Standing Water From Your Home
 How to Restore Water-Damaged Laminate Countertops Step-by-Step Guide
 Water Damage Restoration for Multi-Family Homes: A Comprehensive Guide
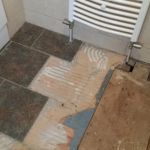 How to Restore Water-Damaged Tile Floors | Expert Repair Guide